Airpods Max 1 & 2
 A30
A30 A40 TR
 A50 Gen 4, 5, A50X
 Maxwell
 Maxwell 2
 Penrose & Mobius
 M Series
 Beats Studio
 Beats Studio Pro
 Beats Solo 2 & 3
 Beats Solo 4
 DT Series
 B450
B450 Bose QC 35, 35ii, 25, 15, & More
 Bose 700
 Bose QC 45 & QC 2023
 Bose QC Ultra Gen 1 & Gen 2
 Void Pro
 HS 50, 60, and 70
 HS 80
HS 80 Virtuoso RGB Wireless
 Virtuoso Pro
 Virtuoso Max
 H6 Pro
 Cloud Models
 Evolve2 65
 G Pro X Series
 G733
G733 Blackshark V2 Pro (Pre 2023)
 Blackshark V2 Pro 2023
 Kraken V3 Pro
 Blackshark V3 Pro
 600, 800, & 900 Series
 PC38X & More
 HD Series
 Momentum 4, 5 & HDB 630
 Crusher
 Crusher ANC 2
 Hesh 2
 PS5 Pulse Elite
 PS5 Pulse 3D
 MDR 7506, CD900ST, & V6
 MDR-RF Models
 WH1000XM3
 WH1000XM4
 WH1000XM5
 WH1000XM6
 WH900N
 Inzone H9
 Old Arctis
 Arctis Nova Pro Wireless, Nova Elite & Nova Pro Omni
 Arctis Nova Line (PRO Wired, 1, 3, 7 & More)
 Stealth Pro
 Stealth 700 Gen 2
 Stealth 700 Gen 3
 Old Stealth Models
 Crossfade Series
 XBOX Wireless
 Airpods Max
 Beats Studio Pro
 Beats Solo
 Beats Studio
 Bose QC15
 Bose QC Ultra Gen 1 & Gen 2
 Momentum 4 & 5
 Ace
Ace WH1000XM3
 WH1000XM4
 WH1000XM5
 WH1000XM6
 Airpods Max
 A40
A40 A50
A50 Maxwell
 ATH M Series
 Beats Studio
 Beats Solo
 Quietcomfort
 Corsair Virtuoso RGB Wireless
 HyperX Cloud
 WH1000XM3
 Arctis Nova Models
 Arctis Nova Models
 Airpods 1, 2, 3, & Pro 1 & 2
 AirPods Pro 3
 Airpods 4
 Airpods Pro & Pro 2
 Powerbeats Pro 2
 Galaxy Buds 3 & 4 Pro
 Airpods Max
 WH1000XM5
 WH1000XM6
 MousepadZ
March 30, 2020 • Adam @ Wicked Cushions
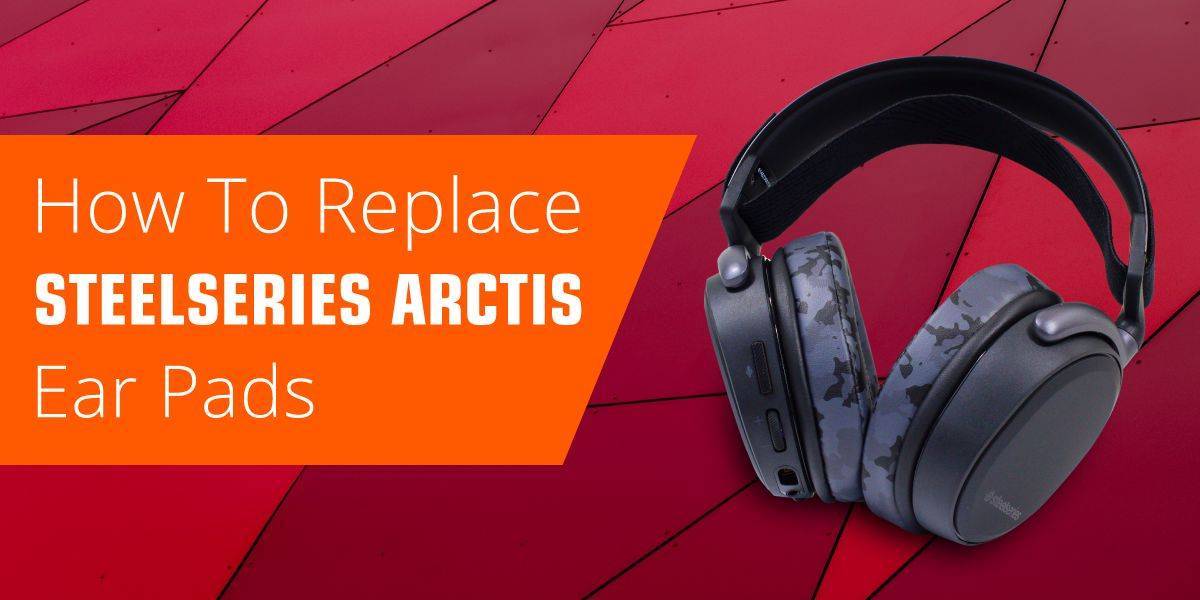
How To Replace SteelSeries Arctis Ear Pads
For years people have been throwing money at new headphones when their current ear pads wear out, that ends today.
Look, you’re training to play league of legends in the LCS, or Overwatch in the Overwatch League, you put in hours of game time, chatting with friends, destroying nexuses, eliminating enemies… Eventually your body’s oils, sweat, skin cells; they get into your headset ear pads and they break down. You cant wear the same headset forever, the ear pads become soft and mushy, your head hurts, your performance goes down, and your dreams of replacing Bjergsen on TSM dwindle away…
At Wicked Cushions we say “hell no” to crushed dreams. We are here to help you up your game, focus on what’s important, and save a bundle of cash at the same time. Instead of spending 170$ on a new gaming headset, let us show you how to replace your old damaged Steelseries Arctis 7 Ear Pads with some Wicked new and upgraded Steelseries Arctis 7 replacement Ear Pads.
We know what everyone experiences after prolonged use of their ear pads, so we don’t just offer quicky replacements. We’ve improved the comfort, sound, and durability of our SteelSeries Arctis 7 replacement ear pads by increasing the thickness, enlarging the inner opening, reinforcing the inside stitching, and using higher grade memory foam than the original pads. Trust us, and soon enough you’ll be on stage high fiving your teammates as you hoist the LCS trophy...
Ready to give it a go? Let’s walk through replacing your Ear Pads together!
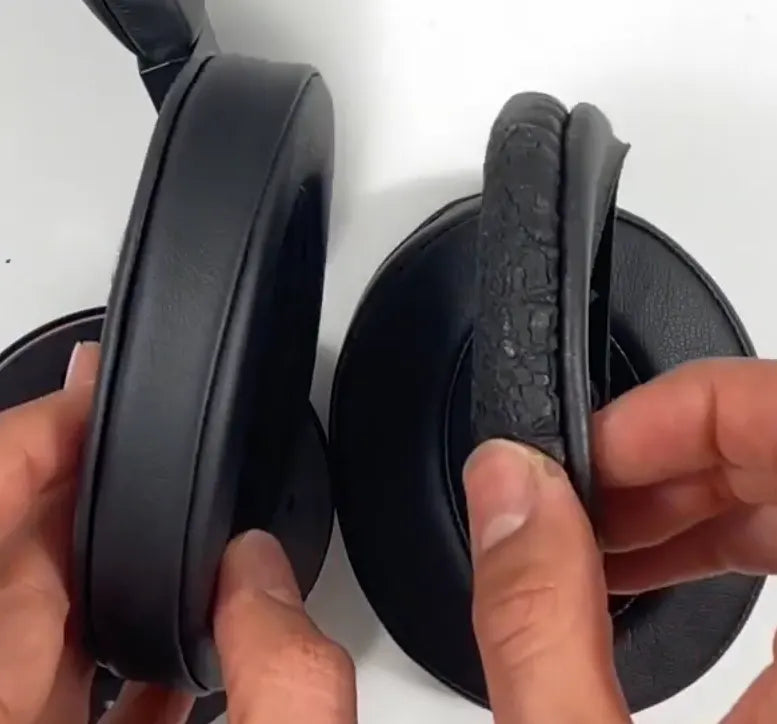

Stage 1 - Eliminate your old ear pads🔫.
Hold the earpad with two fingers from within, and slowly pull it out of its socket. Make sure to remove both sides before moving on. Don’t you wish reaching challenger was this simple?!?
Stage 2 - Know where you are on the map at all times🗺️!
While there is no set left or right ear pad, our replacement Arctis 7 ear pads do have a top and bottom. Look for the seam on the ear pad and you’ve found your bottom, make sure you do this for both the left and right ear pad for a clean install.
Stage 3 - Engage the enemy 👾!
Time to show your headset whos in charge. Let’s get suited up with your new Steelseries Arctis 7 ear pads! Grab your earpad comfortably with your pointer finger inside the ear pad so you can direct it easily. You’re going to start from the top by inserting the backside lip of the ear pad into the slot on the headset. Once a part of the backside lip is on the inside, you need to stretch the rest of the ear pad around the headset cup and the rest of the backside lip will follow into the slot. Once it is on completely twist the ear pad a bit to secure it in place. Make sure to repeat all these steps for both ear pads…
Just like that, you’re done, your headset won’t know what hit it… But you’ll know exactly what happened. You just jumped from Iron to Masters in 5 minutes.
Full Video: How to Replace Your SteelSeries Arctis Ear Pads
If the steps above are unclear without seeing a full demonstration, you're in luck!
Check out the video we made for detailed step by step instructions.