Airpods Max 1 & 2
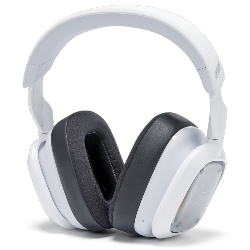 A30
A30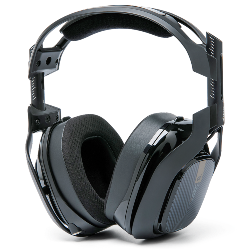 A40 TR
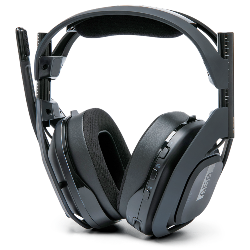 A50 Gen 4, 5, A50X
 Maxwell
 Maxwell 2
 Penrose & Mobius
 M Series
 Beats Studio
 Beats Studio Pro
 Beats Solo 2 & 3
 Beats Solo 4
 DT Series
 B450
B450 Bose QC 35, 35ii, 25, 15, & More
 Bose 700
 Bose QC 45 & QC 2023
 Bose QC Ultra Gen 1 & Gen 2
 Void Pro
 HS 50, 60, and 70
 HS 80
HS 80 Virtuoso RGB Wireless
 Virtuoso Pro
 Virtuoso Max
 H6 Pro
 Cloud Models
 Evolve2 65
 G Pro X Series
 G733
G733 Blackshark V2 Pro (Pre 2023)
 Blackshark V2 Pro 2023
 Kraken V3 Pro
 Blackshark V3 Pro
 600, 800, & 900 Series
 PC38X & More
 HD Series
 Momentum 4 & HDB 630
 Crusher
 Crusher ANC 2
 Hesh 2
 PS5 Pulse Elite
 PS5 Pulse 3D
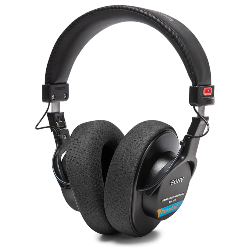 MDR 7506, CD900ST, & V6
 MDR-RF Models
 WH1000XM3
 WH1000XM4
 WH1000XM5
 WH1000XM6
 WH900N
 Inzone H9
 Old Arctis
 Arctis Nova Pro Wireless, Nova Elite & Nova Pro Omni
 Arctis Nova Line (PRO Wired, 1, 3, 7 & More)
 Stealth Pro
 Stealth 700 Gen 2
 Stealth 700 Gen 3
 Old Stealth Models
 Crossfade Series
 XBOX Wireless
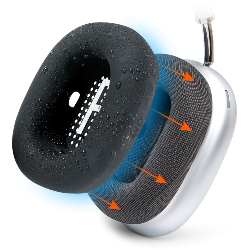 Airpods Max
 Beats Studio Pro
 Beats Solo
 Beats Studio
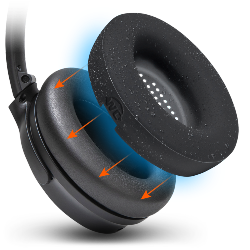 Bose QC15
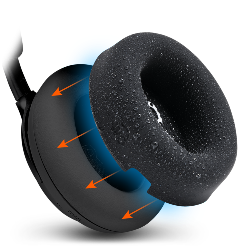 Bose QC Ultra Gen 1 & Gen 2
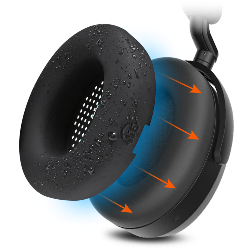 Momentum 4
 Ace
Ace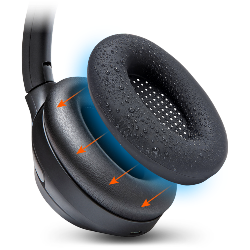 WH1000XM3
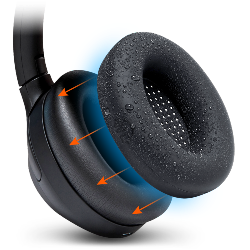 WH1000XM4
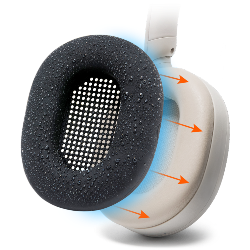 WH1000XM5
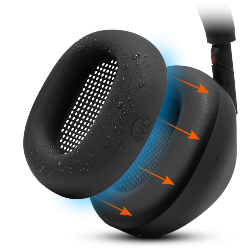 WH1000XM6
 Airpods Max
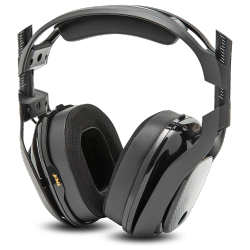 A40
A40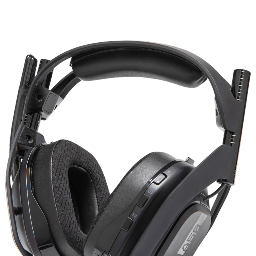 A50
A50 Maxwell
 ATH M Series
 Beats Studio
 Beats Solo
 Quietcomfort
 Corsair Virtuoso RGB Wireless
 HyperX Cloud
 WH1000XM3
 Arctis Nova Models
 Arctis Nova Models
 Airpods 1, 2, 3, & Pro 1 & 2
 AirPods Pro 3
 Airpods 4
 Airpods Pro & Pro 2
 Powerbeats Pro 2
 Galaxy Buds 3 & 4 Pro
 Airpods Max
 WH1000XM5
 WH1000XM6
 MousepadZ

August 19, 2019 • Wicked Cushions
How To Replace Sony MDR 7506 Ear Pads
Oh the exceptionally beautiful Sony MDR 7506 Headphones — professional-looking and incredibly sturdy. They have been a staple of professional audio for years. You likely found yourself needing to replace the ear pads, let us show you how:
This audio device sinks you deeper into detailed music while it eliminates external noise for premium experience. Moreover, the pair of ear cups gives a warm snuggle for hours of comfort.
While the non-corrosive parts will stay as tough as they are, the soft ear pads may become scruffy and threadbare in time. When they shrink, your ears will start to feel uncomfortable.
Now this is where we, Wicked Cushions, step in. We’re here to save your ears from hurting by giving your Sony MDR 7506 Headphones a nice pair of comfortable ear pads!
Check our collection of replacement ear pads for the Sony MDR 7506 Headphones. Use the code “LOYAL15” to enjoy a 15% discount.
Wicked cushions offer a worry-free trial. You can test the item for 365 days and if you’re not happy, you may return the product to us. We also got you covered with our worldwide shipping.
So if you got the replacement ear pads now and you’re looking into how you can wear it to your Sony MDR 7506 Ear Pads, let us show you how it’s done.

Step 1: Remove The Old Ear Pads
The first step is to smoothly remove the old ear pads.
While Sony MDR 7506 headphones showcase durability, every owner wants their device to last a lifetime. You can achieve this with proper care and use.
Simply hold the ear pad between the thumb and the rest of your fingers while your other hand carries the headphone for support.
Gently pull out of its socket. Do the same to the other ear pad.
Step 2: Insert Backside Lip In Top Slot
Now, grab your Sony MDR 7506 replacement pads and let's start to install them.
These ear pads are identical so you won’t need to look for a tag indicating which ear pad should go to the left and right.
Moreover, the Sony MDR 7506 ear cushions, like other pads in our collection are installed by inserting the backside of the ear pad to the socket around the headphone cup.
Start inserting the backside lip of the ear pad into the socket at the top part of your headphone cup.
Step 3: Stretch Out The Rest Of The Backside Lip Into The Slot
Once you covered the top part, hold the pad in place with your other finger.
Stretch out the rest of the backside lip into the rest of the socket.
Step 4: Twist The Ear Pad To Secure the Lip
When you are done wearing the ear pad into the socket, twist the ear pad left and right to make the backside lip fit better into the socket.
The ear pad should stay in place and no part of the ear pad should stay folded or hanging. Otherwise, you need to continue making sure that the backside lip is inserted.
Step 5: Repeat Steps 1-4
Now, repeat the same process on the other side. Check again to make sure it’s a seamless operation.
After installing the ear pads on both sides, wear the headphones to test how the pads feel against your ears. Are they wickedly good?
That is it! You have successfully replaced your Sony MDR 7506 ear pads.
Full Video: How to Replace Your Sony MDR 7506 and V6 Ear Pads
If the steps above are unclear without seeing a full demonstration, you're in luck!
Check out the video we made for detailed step by step instructions.