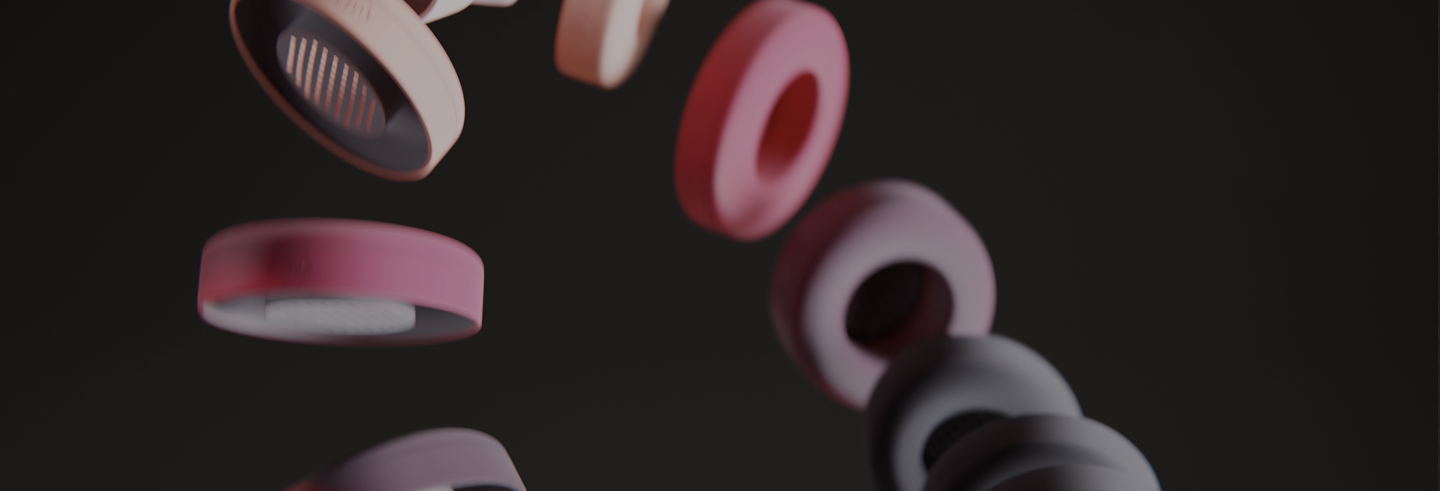
Airpods Max 1 & 2
 A30
A30 A40 TR
 A50 Gen 4, 5, A50X
 Maxwell
 Maxwell 2
 Penrose & Mobius
 M Series
 Beats Studio
 Beats Studio Pro
 Beats Solo 2 & 3
 Beats Solo 4
 DT Series
 B450
B450 Bose QC 35, 35ii, 25, 15, & More
 Bose 700
 Bose QC 45 & QC 2023
 Bose QC Ultra Gen 1 & Gen 2
 Void Pro
 HS 50, 60, and 70
 HS 80
HS 80 Virtuoso RGB Wireless
 Virtuoso Pro
 Virtuoso Max
 H6 Pro
 Cloud Models
 Evolve2 65
 G Pro X Series
 G733
G733 Blackshark V2 Pro (Pre 2023)
 Blackshark V2 Pro 2023
 Kraken V3 Pro
 Blackshark V3 Pro
 600, 800, & 900 Series
 PC38X & More
 HD Series
 Momentum 4, 5 & HDB 630
 Crusher
 Crusher ANC 2
 Hesh 2
 PS5 Pulse Elite
 PS5 Pulse 3D
 MDR 7506, CD900ST, & V6
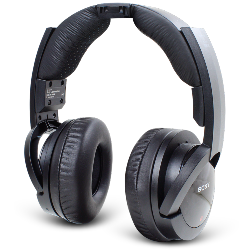 MDR-RF Models
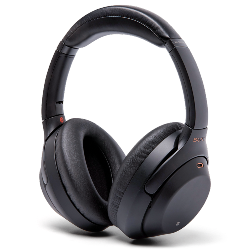 WH1000XM3
 WH1000XM4
 WH1000XM5
 WH1000XM6
 WH900N
 Inzone H9
 Old Arctis
 Arctis Nova Pro Wireless, Nova Elite & Nova Pro Omni
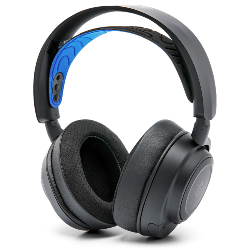 Arctis Nova Line (PRO Wired, 1, 3, 7 & More)
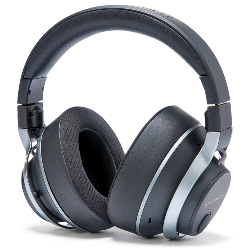 Stealth Pro
 Stealth 700 Gen 2
 Stealth 700 Gen 3
 Old Stealth Models
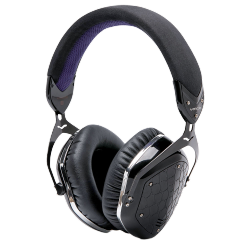 Crossfade Series
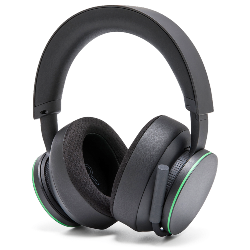 XBOX Wireless
 Airpods Max
 Beats Studio Pro
 Beats Solo
 Beats Studio
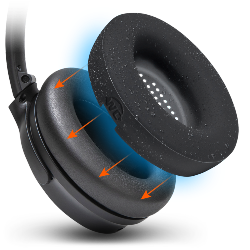 Bose QC15
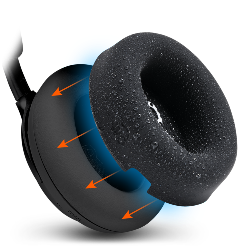 Bose QC Ultra Gen 1 & Gen 2
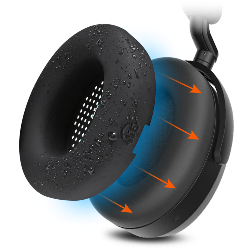 Momentum 4 & 5
 Ace
Ace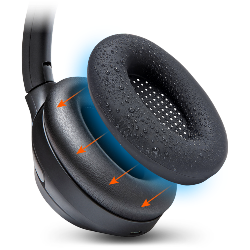 WH1000XM3
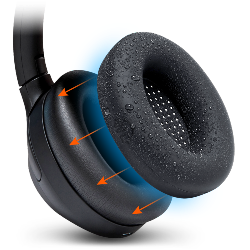 WH1000XM4
 WH1000XM5
 WH1000XM6
 Airpods Max
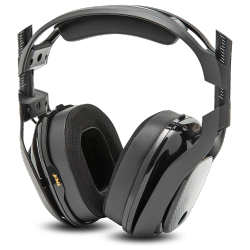 A40
A40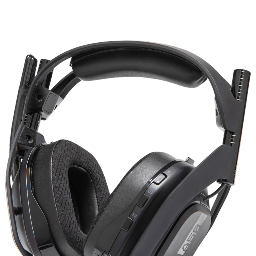 A50
A50 Maxwell
 ATH M Series
 Beats Studio
 Beats Solo
 Quietcomfort
 Corsair Virtuoso RGB Wireless
 HyperX Cloud
 WH1000XM3
 Arctis Nova Models
 Arctis Nova Models
 Airpods 1, 2, 3, & Pro 1 & 2
 AirPods Pro 3
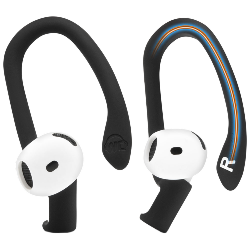 Airpods 4
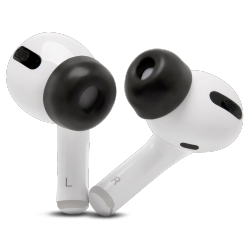 Airpods Pro & Pro 2
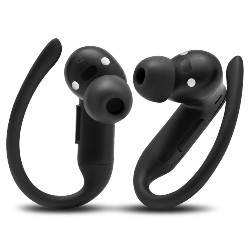 Powerbeats Pro 2
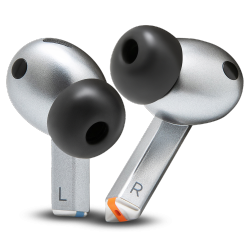 Galaxy Buds 3 & 4 Pro
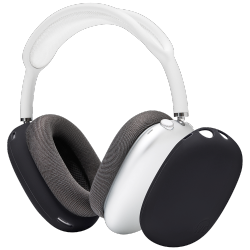 Airpods Max
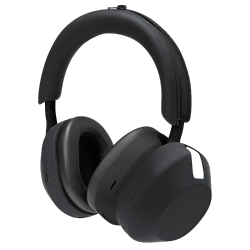 WH1000XM5
 WH1000XM6
 MousepadZ
How to Replace Beats Studio 2/3 Wired & Wireless Ear Pads
Today we are going to teach you how to replace your worn out Beats Studio 2.0 Cushions. These Cushions fit only Beats Studio 2.0 Wireless and Wired Headphones.
We will start with the USB port side first, the process will be the same for the left side.

1. Detach the old cushion
Grab a butter knife and start separating the cushion from the headphones. We must warn you not to use anything sharper than a butter knife, it can damage your headphones as well as have the potential for injury

2. Clean the remaining adhesive
It is very important that you clean the remaining adhesive! If you have any remaining adhesive,there will be a weird gap in-between the headphones and the cushions. You can even use an alcohol wipe to remove the adhesive. The bottom line is, the cleaner the surface, the better the ear pads will stick!

3. Grab your replacement right sidecushion
You will see that the right side cushion is the cushion with a gap where the USB port should be. These are not ordinary cushions, they have an extremely strong and thick adhesive that is crucial for this process to work.
4. Prepare the adhesive
To make it easier for you to peel the adhesive, take a sharp knife and make a small cut on the surface. BEFORE you peel the adhesive, read the next step!

5. Align the holes with the headphones dowels.
There are two dowels on the headphone, on the top left and the bottom right. You can get a better understanding of how to apply the cushion to the headphones before peeling the adhesive.

6. Peel the adhesive & attach the ear pads
So take your ear pad and align the top dowel to the hole, push it in, and then align the bottom one. Apply pressure on the ear pads for a good minute that way you remove any gaps. If you have noticeable gaps, that means you have not aligned the cushion correctly and try again.

7. The last and most important step!
Apply constant pressure on the ear pads by taking a couple of books and putting the headphones on them in a way that applies the most pressure without bending the headphone headband to far.
We hope you enjoyed this simple tutorial, if you have any questions, do not hesitate to contact us. Check out the video below for a direct guide.
Back to Blog