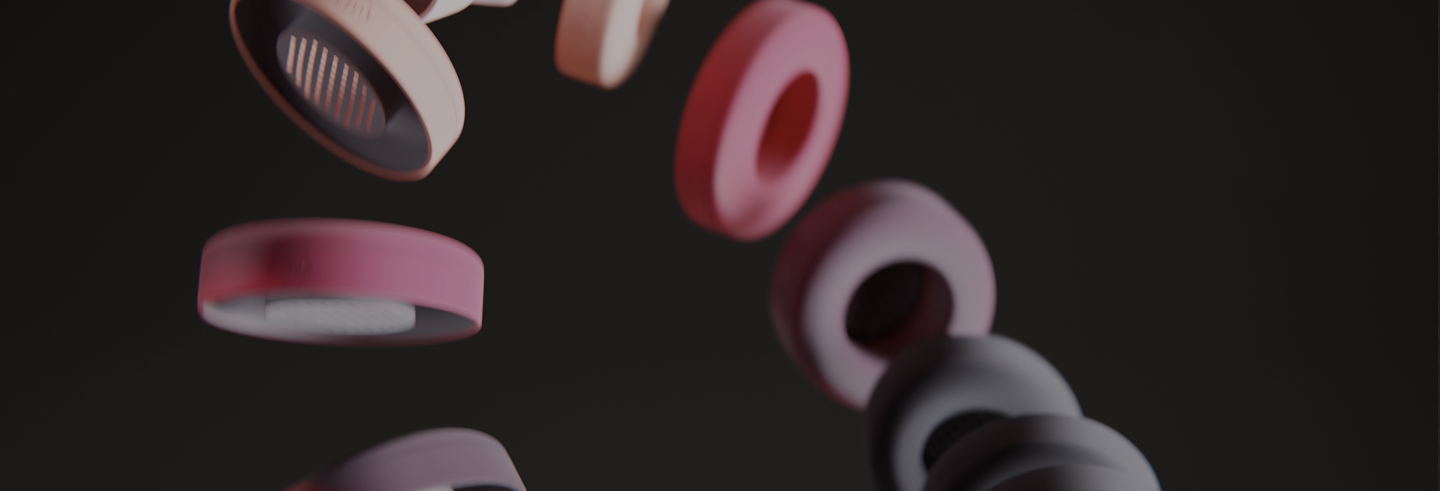
Airpods Max 1 & 2
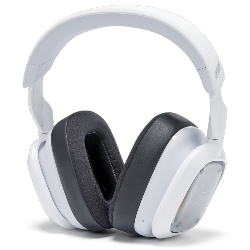 A30
A30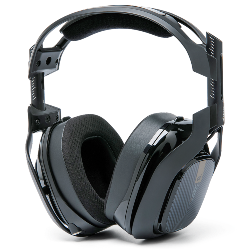 A40 TR
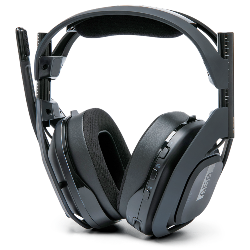 A50 Gen 4, 5, A50X
 Maxwell
 Maxwell 2
 Penrose & Mobius
 M Series
 Beats Studio
 Beats Studio Pro
 Beats Solo 2 & 3
 Beats Solo 4
 DT Series
 B450
B450 Bose QC 35, 35ii, 25, 15, & More
 Bose 700
 Bose QC 45 & QC 2023
 Bose QC Ultra Gen 1 & Gen 2
 Void Pro
 HS 50, 60, and 70
 HS 80
HS 80 Virtuoso RGB Wireless
 Virtuoso Pro
 Virtuoso Max
 H6 Pro
 Cloud Models
 Evolve2 65
 G Pro X Series
 G733
G733 Blackshark V2 Pro (Pre 2023)
 Blackshark V2 Pro 2023
 Kraken V3 Pro
 Blackshark V3 Pro
 600, 800, & 900 Series
 PC38X & More
 HD Series
 Momentum 4, 5 & HDB 630
 Crusher
 Crusher ANC 2
 Hesh 2
 PS5 Pulse Elite
 PS5 Pulse 3D
 MDR 7506, CD900ST, & V6
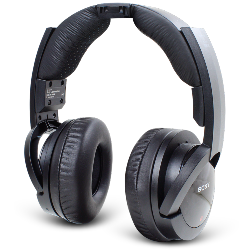 MDR-RF Models
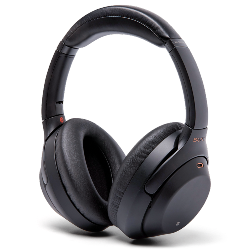 WH1000XM3
 WH1000XM4
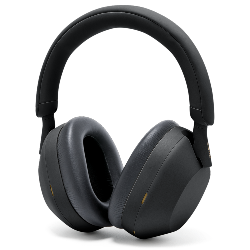 WH1000XM5
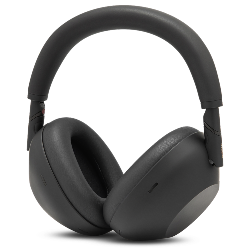 WH1000XM6
 WH900N
 Inzone H9
 Old Arctis
 Arctis Nova Pro Wireless, Nova Elite & Nova Pro Omni
 Arctis Nova Line (PRO Wired, 1, 3, 7 & More)
 Stealth Pro
 Stealth 700 Gen 2
 Stealth 700 Gen 3
 Old Stealth Models
 Crossfade Series
 XBOX Wireless
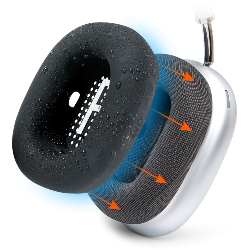 Airpods Max
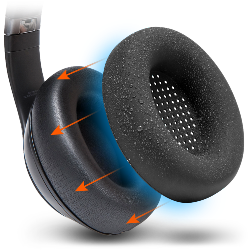 Beats Studio Pro
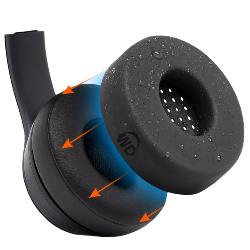 Beats Solo
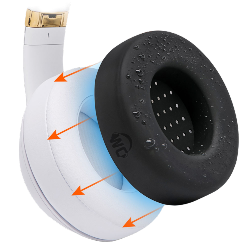 Beats Studio
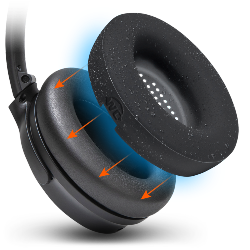 Bose QC15
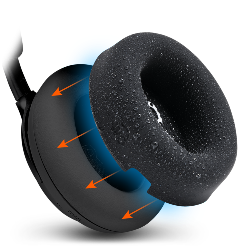 Bose QC Ultra Gen 1 & Gen 2
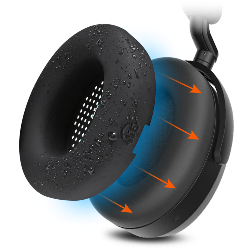 Momentum 4 & 5
 Ace
Ace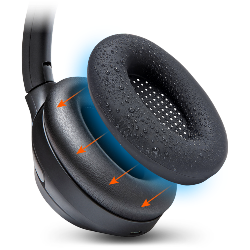 WH1000XM3
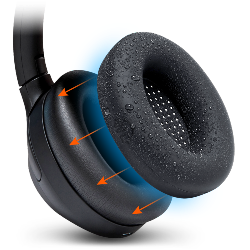 WH1000XM4
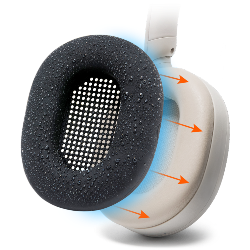 WH1000XM5
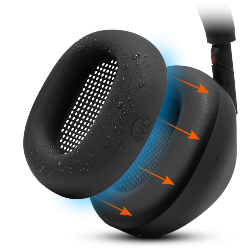 WH1000XM6
 Airpods Max
 A40
A40 A50
A50 Maxwell
 ATH M Series
 Beats Studio
 Beats Solo
 Quietcomfort
 Corsair Virtuoso RGB Wireless
 HyperX Cloud
 WH1000XM3
 Arctis Nova Models
 Arctis Nova Models
 Airpods 1, 2, 3, & Pro 1 & 2
 AirPods Pro 3
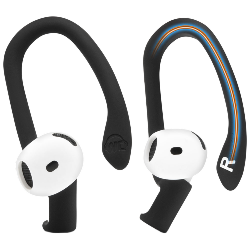 Airpods 4
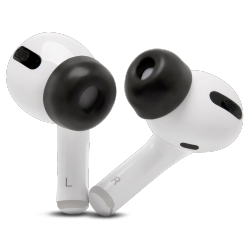 Airpods Pro & Pro 2
 Powerbeats Pro 2
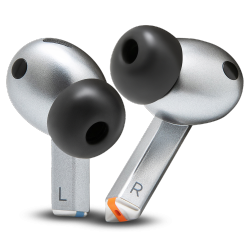 Galaxy Buds 3 & 4 Pro
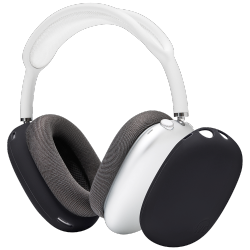 Airpods Max
 WH1000XM5
 WH1000XM6
 MousepadZ

October 14, 2016 • Osnat Amzaleg
A DIY Guide on How to Make Headphone Covers
Headphone covers are an important part of your headphones. No matter how high quality or how well you take care of them, they will eventually wear out and need to be replaced. And if you’re the crafty type, you can attempt to make headphone covers yourself.
In this quick guide, we’ll give you some basic instructions for how to make headphone covers. The first tutorial is for a simple, easy-to-do replacement. The second is a much more advanced tutorial that will create something similar to professionally made headphone covers.
SOCK HEADPHONE COVERS
These are a basic set of replacement headphone covers made from socks. They will not look very professional and they will not isolate sound as well as a professional headphone cover. However, they are comfortable, easy to make, and will do the trick in a pinch.
What you will need:
- Large, thick socks (if not available, thin socks will do)
- Padding material (like foam) if socks are not very thick.
- Scissors
- Headphones

Instructions:
- Get a pair of old, thick socks. Wash them!
- Cut socks in half at about the part where the ankle would be.
- If using thin socks, cut out some padding to match the dimensions of your headphones. Cut a hole in the center so that it is donut shaped.
- You may also choose to use the bottom half of your sock as padding but it may not provide as much comfort as you want.
- Take the top half of the sock and slide one edge around the edge of your headphone.
- If using padding, push the other edge of your sock through the center hole in the padding.
- If using the bottom half of the sock, roll the open edge down over itself until it is a pad shape. Cut a hole in the center. Do as you would with padding in step 6.
- Roll the edge of the sock down over the padding and over the headphone.
For helpful pictures and additional instructions, check out the tutorial here. This DIY project’s key advantages are that it’s super simple and fast to complete. There’s no sewing, no complicated steps, no special techniques. It’s not a very advanced headphone cover but it will do the job.

DIY HIGH END HEADPHONE COVERS
This tutorial is pretty labor and time intensive. You will need one full day (or you can spread it out over a weekend). But in the end, you will get actual, professional looking headphone covers.
It does require some technical skill. You need to have basic hand sewing skills to do very tight stitching. You’ll need to have a basic understanding of making and cutting out patterns. And the list of tools required is a bit long. So unless most of them are items you already have at home, the project could end up being more expensive than just buying a set of replacement headphone covers.
Materials you will need
- ½ yard of protein leather (or velour) fabric.
- Standard thread (matching the fabric or color of your choice)
- Heavy duty thread
- Needles (leather needles if using protein leather)
- Foam or other filler material (such as loose cotton)
- Scissors
- Exacto knife
- Clamps
- Ruler
- Circle shapes for tracing dimensions (e.g.- CD, lids, etc)
- Headphones

Instructions:
- Measure the dimensions of your old headphones. Add about a quarter inch extra to that measurement. Find circle shapes that are the same dimensions. If not available, use a ruler to carefully draw the appropriate sized circles on your fabric.
- Cut shapes out. You need an inside ring and an outside ring. You also need long strips that will go between them. And long strips to make a retaining strap (the part that will grip to the headphones.
- Turn shapes inside out. Sew the rings to the strips.
- Turn right side out. Fill with filler material. Sew shut.
- Sew the retaining strap.
- Slide onto headphones.
For more comprehensive and detailed instructions, read the original tutorial here. If you want maximum sound isolation, use the protein leather. If you want maximum comfort, use velour. Consider using memory foam as the filler instead of the cotton used in this tutorial.
THE ALTERNATIVE TO DIY
If craft projects like these aren’t your thing or you are looking for higher quality headphone covers that look and feel more professional (without the intensive labor of making them yourself like in the above tutorial), you are not alone! You can actually buy replacement headphone covers very easily.
These are often designed to perfectly mimic (or even improve on) the original covers that came with your headphones. And they are super affordable and easy to install. You can even check out some custom patterns and designs to add a spark of your own unique personality to your headphones!

FINAL WORD
If your budget is extremely tight, the sock tutorial would make a good temporary fix until you have a bit of extra cash.
The second tutorial will probably end up costing only a little less than the cost of professionally made replacement headphone covers. It’s most useful for those who are just very into DIY or those who have rare or unique headphones that aren’t compatible with any of the replacement headphone covers on the market.
However, if you use a popular quality brand like Bose or Beats, you definitely have some great options for professionally made replacement headphone covers at very moderate prices.