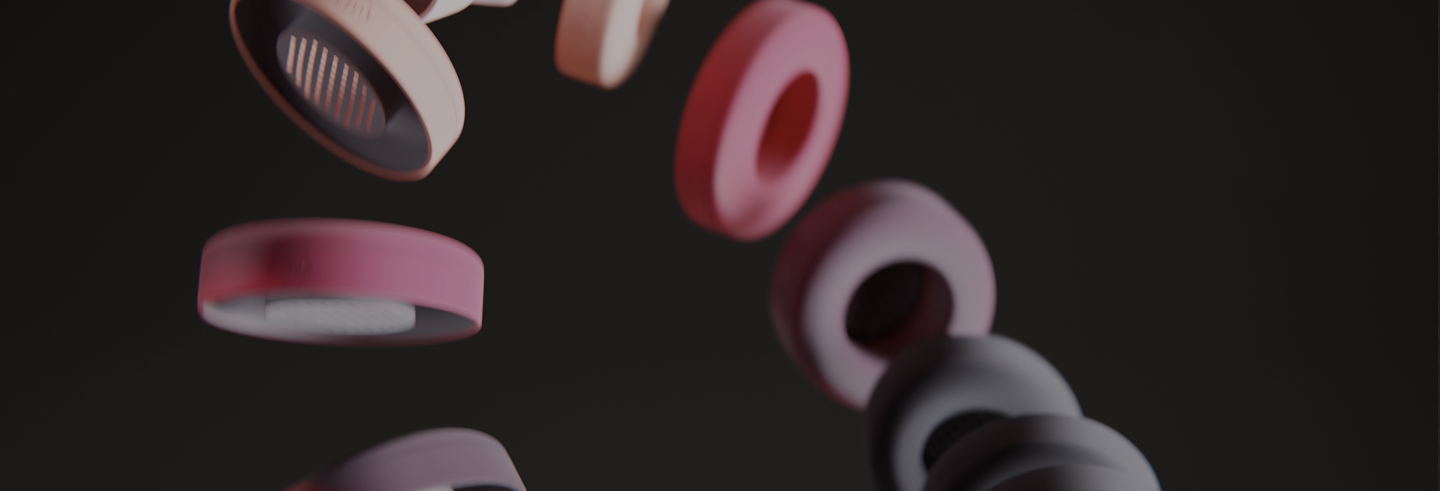
Airpods Max 1 & 2
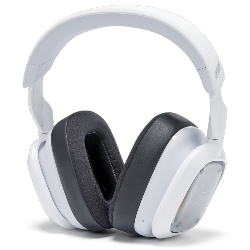 A30
A30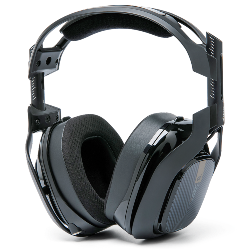 A40 TR
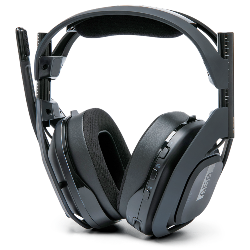 A50 Gen 4, 5, A50X
 Maxwell
 Maxwell 2
 Penrose & Mobius
 M Series
 Beats Studio
 Beats Studio Pro
 Beats Solo 2 & 3
 Beats Solo 4
 DT Series
 B450
B450 Bose QC 35, 35ii, 25, 15, & More
 Bose 700
 Bose QC 45 & QC 2023
 Bose QC Ultra Gen 1 & Gen 2
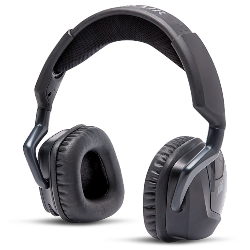 Void Pro
 HS 50, 60, and 70
 HS 80
HS 80 Virtuoso RGB Wireless
 Virtuoso Pro
 Virtuoso Max
 H6 Pro
 Cloud Models
 Evolve2 65
 G Pro X Series
 G733
G733 Blackshark V2 Pro (Pre 2023)
 Blackshark V2 Pro 2023
 Kraken V3 Pro
 Blackshark V3 Pro
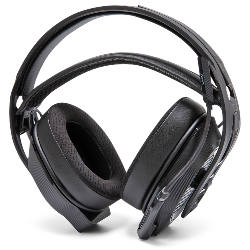 600, 800, & 900 Series
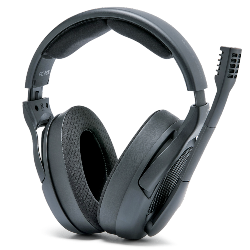 PC38X & More
 HD Series
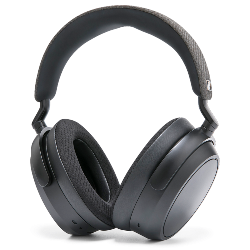 Momentum 4, 5 & HDB 630
 Crusher
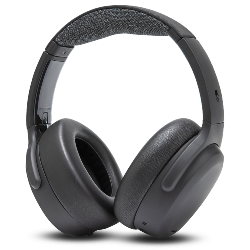 Crusher ANC 2
 Hesh 2
 PS5 Pulse Elite
 PS5 Pulse 3D
 MDR 7506, CD900ST, & V6
 MDR-RF Models
 WH1000XM3
 WH1000XM4
 WH1000XM5
 WH1000XM6
 WH900N
 Inzone H9
 Old Arctis
 Arctis Nova Pro Wireless, Nova Elite & Nova Pro Omni
 Arctis Nova Line (PRO Wired, 1, 3, 7 & More)
 Stealth Pro
 Stealth 700 Gen 2
 Stealth 700 Gen 3
 Old Stealth Models
 Crossfade Series
 XBOX Wireless
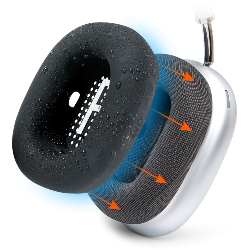 Airpods Max
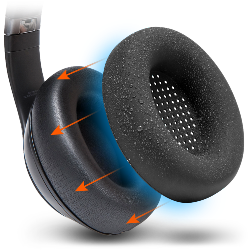 Beats Studio Pro
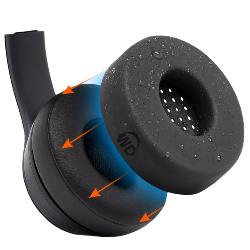 Beats Solo
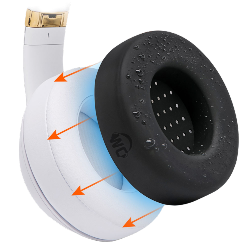 Beats Studio
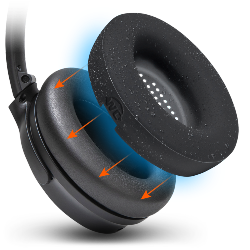 Bose QC15
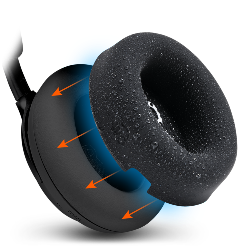 Bose QC Ultra Gen 1 & Gen 2
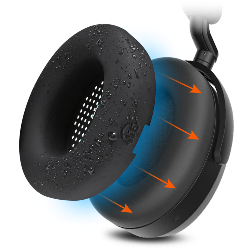 Momentum 4 & 5
 Ace
Ace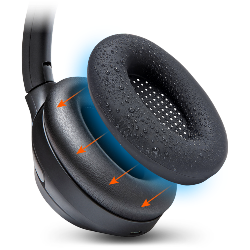 WH1000XM3
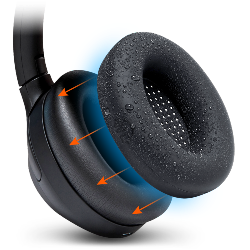 WH1000XM4
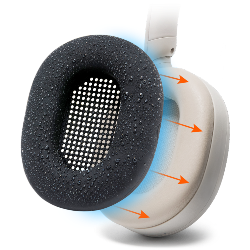 WH1000XM5
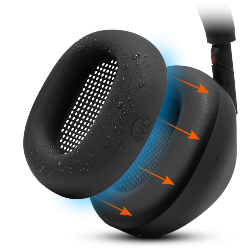 WH1000XM6
 Airpods Max
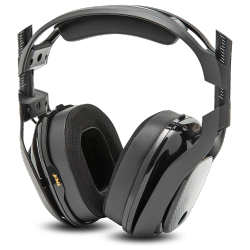 A40
A40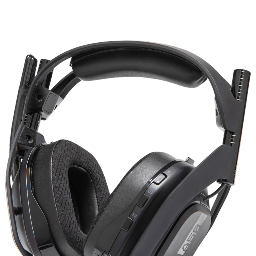 A50
A50 Maxwell
 ATH M Series
 Beats Studio
 Beats Solo
 Quietcomfort
 Corsair Virtuoso RGB Wireless
 HyperX Cloud
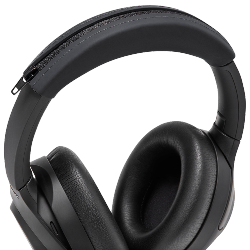 WH1000XM3
 Arctis Nova Models
 Arctis Nova Models
 Airpods 1, 2, 3, & Pro 1 & 2
 AirPods Pro 3
 Airpods 4
 Airpods Pro & Pro 2
 Powerbeats Pro 2
 Galaxy Buds 3 & 4 Pro
 Airpods Max
 WH1000XM5
 WH1000XM6
 MousepadZ

October 18, 2016 • Osnat Amzaleg
The Emergency Guide on How to Fix Headphone Cushion
Headphone cushions are what make using our headphones possible. They provide comfort, grip, and even noise isolation so that you can comfortably and securely enjoy your tunes without distraction.
But when they start to wear down, they become less comfortable, less secure, and less capable of isolating sound. When this happens, you have a few different options. You could buy a whole new pair of headphones—which would be a huge waste of money.
You could buy a quality replacement set of headphone cushions—the best use of your time and money! In this article, we’ll show you how to fix headphone cushion. We’ll give a few different options to fix headphone cushion including instructions for replacing them and some quick, temporary fixes.
THE SIGNS YOUR HEADPHONE CUSHIONS ARE WORN OUT
It’s pretty easy to see and feel when your headphone cushions have seen better days. But it’s important to be consciously aware of exactly what signs you need to look for. The longer you let these problems persist, the worse your listening experience will become:

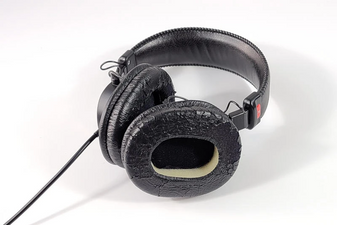
- Flattened. Each time the foam is pressed from you wearing the headphones, it will place pressure on the structure of the foam. Eventually the connective fibers will start to break apart and the foam will flatten. This means it is no longer fluffy enough to provide comfort nor firm enough to provide the proper grip.
- Peeling or cracking. Both usage and changing weather conditions put strain on the outer coating of your cushion. The protein leather will keep expanding and contracting from the pressure of you wearing them as well as from the changing levels of humidity, dryness, and temperatures. Eventually this constant expanding and contracting will cause tears or pealing in the protein leather.
- Odor. Sweat and dirt will absorb into the cushion even with proper cleaning. Eventually this will build up to a point that your cushions start to smell moldy or otherwise unpleasant. It’s time to replace when this happens. Nobody wants to wear something dirty and stinky.
- Rips or tears in the seams. This is not as common but it can happen. If a seam rips open, the entire integrity of the cushion is compromised. The outer coating needs to be completely sealed in order to keep the inner padding molded to the proper shape and contained at the right combination of soft and firm.
Watching for these signs is the best way to tell when it’s time to replace your headphone cushions. It is better to base it on these signs rather than on any recommended time frames because we don’t all use our headphones the same amount.
Those of us who use them on a daily basis will need to replace the cushions more often. Those of us who use them less frequently will need to replace them less often. So when you just watch for the signs above, you can figure out exactly when you need to replace them.

HOW TO FIX HEADPHONE COVERS – TEMPORARY FIXES
Here are few tips for temporary fixes while you’re waiting to get a pair of replacement headphone cushions:
Socks. Leave the old cushion on. Cut off the toe end of a sock. Turn it inside out. Wrap one edge of the sock around the headphone. Roll the other edge down and over the headphone. This will provide a little extra padding to a flattened cushion.
Replace protein leather coating. If the outer coating starts to peel but the foam still has its integrity, just replace the coating. Remove the cushion from the headphone. Peel off the already peeling protein leather. Buy a piece of protein leather fabric. Cut it to the right dimensions. Sew it onto your foam. Place cushion back onto headphones.
Both of these are more short term fixes. Eventually, you will be better off just buying a new set of headphone cushions. Below, you will learn how easy it is to replace your cushions.
HOW TO FIX BROKEN HEADPHONE CUSHIONS – THE PERMANENT FIX
Replacing headphones is extremely easy. In most cases, it takes less than 10 minutes. Here are some general guidelines for how to fix headphone cushions by replacing them with new ones:
- Buy replacement headphone cushions. You need to get something that is compatible with your headphones and something that is high enough quality to last and provide the same level of comfort as your old ones.
- Gently tug on old cushions to remove them. In most cases, this is all it takes. If you find that gentle tugging is not working, check for screws that may be holding the cushion in place. You’ll need a knife or small screwdriver to remove these and then tug on the cushion to remove it.
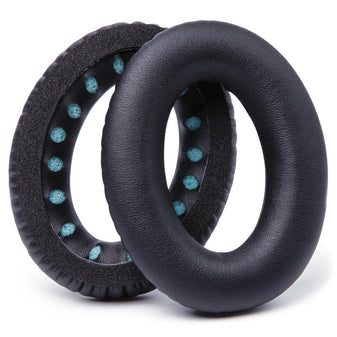
- Stretch new cushion over the headphones. Simply stretch the edges of the new cushions over the headphones until they are firmly and securely in place. If there were screws involved, you may need to put these back in place. However, if the cushions fit securely without sliding around already, you can opt to skip the screws (but we recommend saving them in a safe location in case you decide you want to put them back in later).

Final Word
Replacing your old, worn headphone cushions with new ones is the best ways to bring new life to your headphones. They will increase the comfort and quality of your listening experience.
So as soon as they start to wear out, get yourself a pair of high quality and compatible replacements. It’s so easy and way, way cheaper than buying a whole new set of headphones.