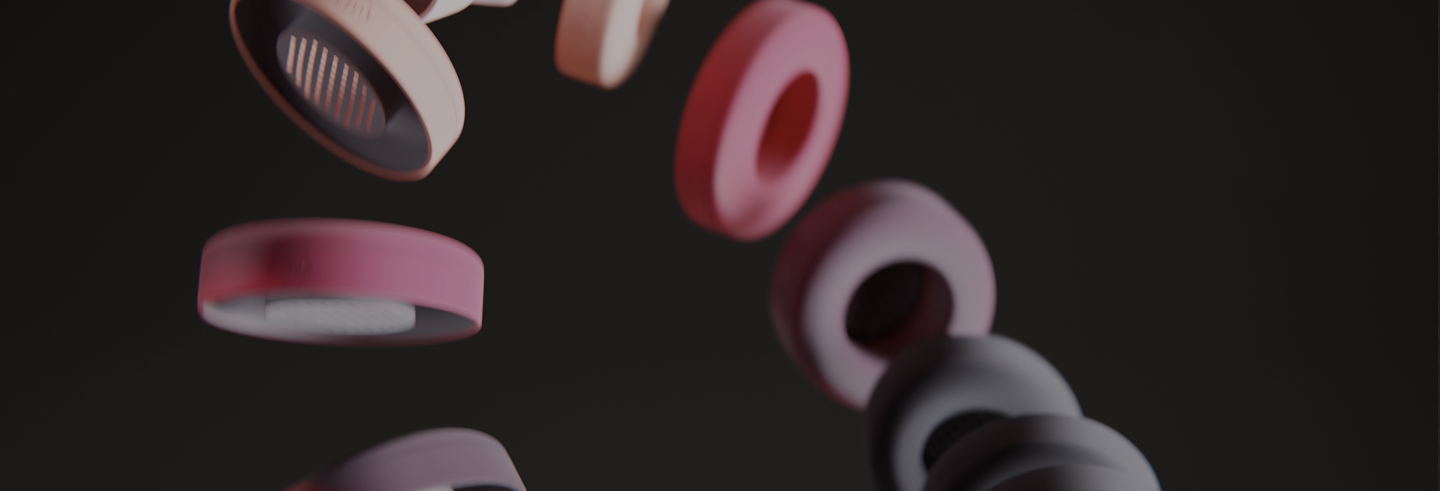
Airpods Max 1 & 2
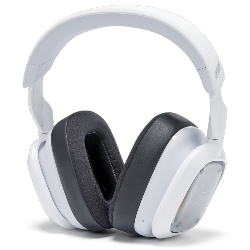 A30
A30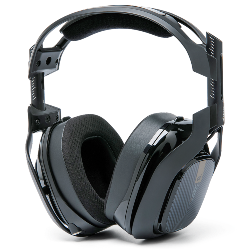 A40 TR
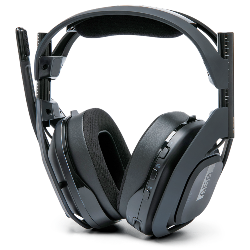 A50 Gen 4, 5, A50X
 Maxwell
 Maxwell 2
 Penrose & Mobius
 M Series
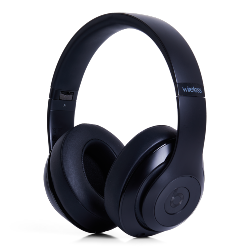 Beats Studio
 Beats Studio Pro
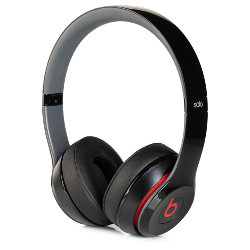 Beats Solo 2 & 3
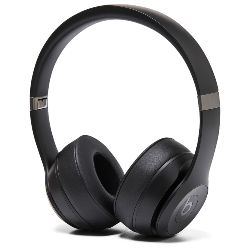 Beats Solo 4
 DT Series
 B450
B450 Bose QC 35, 35ii, 25, 15, & More
 Bose 700
 Bose QC 45 & QC 2023
 Bose QC Ultra Gen 1 & Gen 2
 Void Pro
 HS 50, 60, and 70
 HS 80
HS 80 Virtuoso RGB Wireless
 Virtuoso Pro
 Virtuoso Max
 H6 Pro
 Cloud Models
 Evolve2 65
 G Pro X Series
 G733
G733 Blackshark V2 Pro (Pre 2023)
 Blackshark V2 Pro 2023
 Kraken V3 Pro
 Blackshark V3 Pro
 600, 800, & 900 Series
 PC38X & More
 HD Series
 Momentum 4, 5 & HDB 630
 Crusher
 Crusher ANC 2
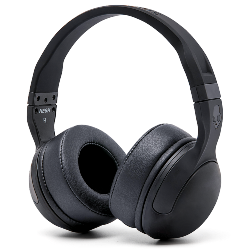 Hesh 2
 PS5 Pulse Elite
 PS5 Pulse 3D
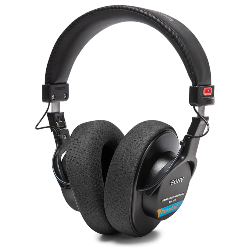 MDR 7506, CD900ST, & V6
 MDR-RF Models
 WH1000XM3
 WH1000XM4
 WH1000XM5
 WH1000XM6
 WH900N
 Inzone H9
 Old Arctis
 Arctis Nova Pro Wireless, Nova Elite & Nova Pro Omni
 Arctis Nova Line (PRO Wired, 1, 3, 7 & More)
 Stealth Pro
 Stealth 700 Gen 2
 Stealth 700 Gen 3
 Old Stealth Models
 Crossfade Series
 XBOX Wireless
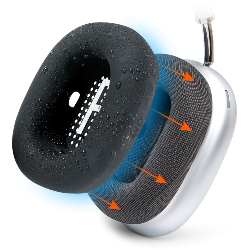 Airpods Max
 Beats Studio Pro
 Beats Solo
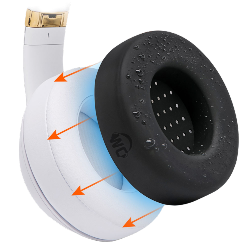 Beats Studio
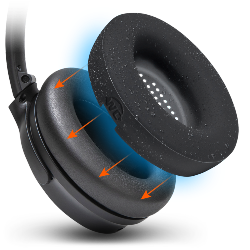 Bose QC15
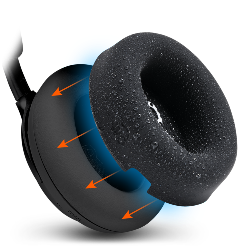 Bose QC Ultra Gen 1 & Gen 2
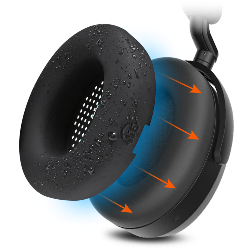 Momentum 4 & 5
 Ace
Ace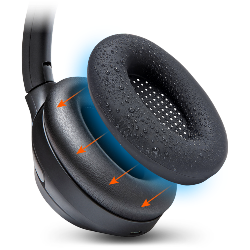 WH1000XM3
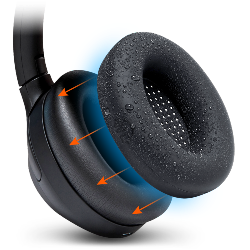 WH1000XM4
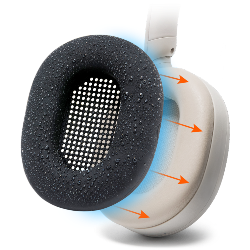 WH1000XM5
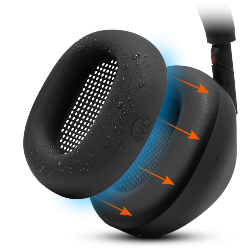 WH1000XM6
 Airpods Max
 A40
A40 A50
A50 Maxwell
 ATH M Series
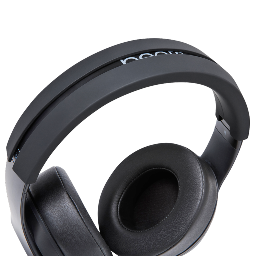 Beats Studio
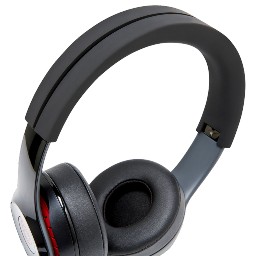 Beats Solo
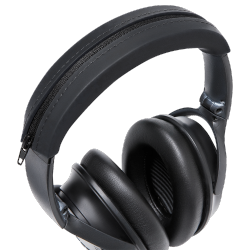 Quietcomfort
 Corsair Virtuoso RGB Wireless
 HyperX Cloud
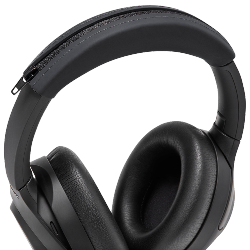 WH1000XM3
 Arctis Nova Models
 Arctis Nova Models
 Airpods 1, 2, 3, & Pro 1 & 2
 AirPods Pro 3
 Airpods 4
 Airpods Pro & Pro 2
 Powerbeats Pro 2
 Galaxy Buds 3 & 4 Pro
 Airpods Max
 WH1000XM5
 WH1000XM6
 MousepadZ

September 10, 2019 • Wicked Cushions
How To Replace Ear Pads On Beats Studio Headphones
Among all bluetooth headphones, the Beats Studio series are among the best available. However the earpads wear down like with any other headphone. Here i am going to show you how you can replace your Beats Studio Ear Pads and save yourself from buying brand new $300 headphones!
While Beats Studio ear cushions are built to outlast others, its life span will entirely depend on the usage. If the ear pad leather starts to become loose or it got torn by accident, this $300 headphones would definitely make use of an ear pad upgrade.
And that’s where we, Wicked Cushions, come in to offer our wickedly good Beats Studio replacement ear pads. Our Beats Studio ear cushions provide the same panache and comfort for a reasonable price! So if you’re looking for Beats Studio 1 ear cushion replacement or Beats Studio 3 replacement ear pads, then browse our collection of Beats Studio Wired / Wireless ear cushions.

The Installation
The replacement process is quite different compared to the previous guides we created. It is a bit complicated and we’d like our customers to get this one right. Hence, we created this step-by-step instructions on how to replace your Beats Studio ear pads.
But before we get down to the steps on how to replace Beats ear pads, let’s talk about the top three mistakes people do when replacing their Beats Studio ear cushions.

Top 3 Customer Mistakes When Replacing Their Beats Studio Ear Pads
Mistake #1 - Not Removing The Plastic Base
Customers often forget to remove the plastic base that’s holding the ear pad in place.
This plastic base is part of the old ear pad that you’re about the replace so you need to remove it as well.
If not removed, it will leave the foam completely exposed which is a distracting sight. It will also make you feel that something’s uneven while wearing the headphones. Soon, they will literally become a pain.
We will discuss on how to remove the plastic base later in this article.
Mistake #2 - Ear Pads Attached On The Wrong Sides
The left and the right side of the Beats Studio headphones are completely different from each other. The right side ear pad has a special cut out engineered to accommodate the headphone USB port.
If you got this wrong, it could completely mess up the headphones or the replacement ear pads. Make sure you install the correct ear pad for the side, so you won’t ruin the adhesive.
Mistake #3 - Installing The Beats Studio Ear Pads Upside Down
Not only is the left ear pad is different than the right ear pad, but the top of the ear pad is also different than the bottom of it.
Installing the ear pad upside down will prevent its holes from fitting correctly into the dowels on the headphones.
For the right side, it is easy to recognize the bottom of the ear pad just by looking for the USB port cut out.
The left side, however, is where most of our customers get confused. To do the replacement right, look for the seam at the bottom.
Again, remember that the bottom of the right ear pad has a USB port cutout while the bottom left ear pad of the Beats Studio ear pads has a seam.
How To Remove And Install The Beats Studios Ear Pads
Step 1 - Remove The Current Ear Pads
To remove the pad simply grab a butter knife, or any tool with enough strength to act as a lever so you can easily detach the plastic base from the Beats Studio headphones. Pick a tool with a dull edge so it won’t damage the audio device.
Gently fit the edge into a small gap between the old ear pad plastic base and the headphones. Don’t try to force the plastic base by pulling it away. It’s gonna be much harder to remove if it’s broken.
Lift the base carefully to separate it from your headphones. Do it from different edges so it will easily come out after a round.
Some ear pads would take much longer and harder to remove. This usually depends on how old your headset is.
While replacing the ear pads, you may not notice the plastic base and mistakenly recognize it as part of the headphones. Remember that it is certainly not, and that it is a part of the old ear pads you’re trying to remove.
Step 2 - Clean The Remaining Adhesive From The Speaker Surface
After removing the plastic base, you might notice some left over adhesive on the surface. Clean and wipe out the dirt with the alcohol wipes that came in your Wicked Cushions package.
Once done, you’re all set to install the new ear pad.
Step 3 - Check The Dowels And Their Corresponding Holes
Before you go ahead and install, learn how the ear pad sits in its place.
Examine the surface of the headphone speaker. You should notice the two dowels for each side of the Beats Studio headphones. They are supposed to fit into the two holes located on the backside of the ear pad.
Step 4 - Try To Align The Ear Pad And Get A Feel Of What You Need To Do
We suggest that you try to align the ear pad just so you can get a feel of what to do.
Make sure that you do this before removing the adhesive. Consider this as a practice to avoid messing up the adhesive.
Step 5 - Peel The Adhesive And Stick The Ear Pads
Now that you feel confident that you can do the task, peel the adhesive and be guided by aligning the two dowels into the corresponding holes.
Step 6 - Apply Pressure On The Ear Pad For 10 Seconds
Once aligned, push the ear pad inside and hold it tight for about ten seconds.
After that, go around the entire ear pad with your fingers and push it against the speaker so it sticks.
Step 7 - Repeat The Same Process On The Other Ear Pad
Now that you’ve successfully attached the first ear pad on a side, perform the same steps you did on the other ear pad.
Although already installed, you still need to be careful not to touch the first pad while attaching the other one.
Step 8 - Apply Constant Pressure On The Ear Pads For 12 Hours
It’s important that you don’t miss doing this last step.
Other customers might go straight into using their Beats Studio headphones as soon as they have installed the replacement ear pads. This is not recommended as the adhesion is stil weak at this point.
The best way you can apply constant pressure to the ear pads for 12 hours is by using a stack of books.
For this last step you will need about five to six books with 300 pages each. Avoid going for too thick or too thin for this to work.
Stack the books and stretch the headphones over them. Make it seem like these books are using your Beats Studio headphones for the meantime.
Do not overstretch the headphones to avoid damage.
Remove after 12 hours and feel your new Beats Studio ear cushions. I bet they’re wickedly good!
Full Video: How to Replace Your Beats Studio Ear Pads
If the steps above are unclear without seeing a full demonstration, you're in luck!
Check out the video we made for detailed step by step instructions.