Airpods Max 1 & 2
 A30
A30 A40 TR
 A50 Gen 4, 5, A50X
 Maxwell
 Maxwell 2
 Penrose & Mobius
 M Series
 Beats Studio
 Beats Studio Pro
 Beats Solo 2 & 3
 Beats Solo 4
 DT Series
 B450
B450 Bose QC 35, 35ii, 25, 15, & More
 Bose 700
 Bose QC 45 & QC 2023
 Bose QC Ultra Gen 1 & Gen 2
 Void Pro
 HS 50, 60, and 70
 HS 80
HS 80 Virtuoso RGB Wireless
 Virtuoso Pro
 Virtuoso Max
 H6 Pro
 Cloud Models
 Evolve2 65
 G Pro X Series
 G733
G733 Blackshark V2 Pro (Pre 2023)
 Blackshark V2 Pro 2023
 Kraken V3 Pro
 Blackshark V3 Pro
 600, 800, & 900 Series
 PC38X & More
 HD Series
 Momentum 4, 5 & HDB 630
 Crusher
 Crusher ANC 2
 Hesh 2
 PS5 Pulse Elite
 PS5 Pulse 3D
 MDR 7506, CD900ST, & V6
 MDR-RF Models
 WH1000XM3
 WH1000XM4
 WH1000XM5
 WH1000XM6
 WH900N
 Inzone H9
 Old Arctis
 Arctis Nova Pro Wireless, Nova Elite & Nova Pro Omni
 Arctis Nova Line (PRO Wired, 1, 3, 7 & More)
 Stealth Pro
 Stealth 700 Gen 2
 Stealth 700 Gen 3
 Old Stealth Models
 Crossfade Series
 XBOX Wireless
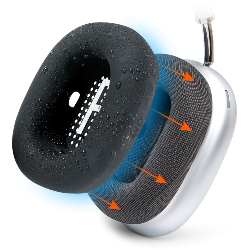 Airpods Max
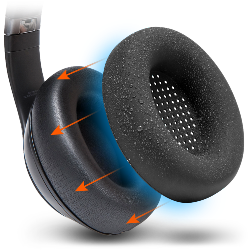 Beats Studio Pro
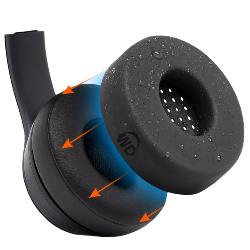 Beats Solo
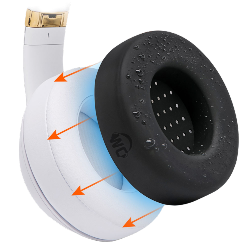 Beats Studio
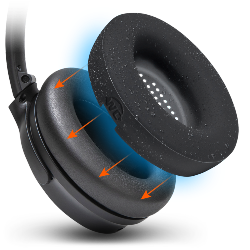 Bose QC15
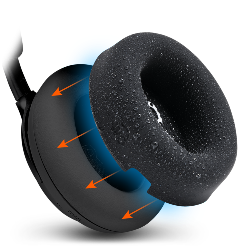 Bose QC Ultra Gen 1 & Gen 2
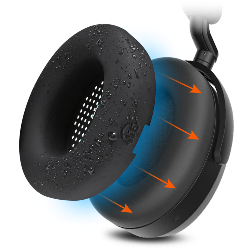 Momentum 4 & 5
 Ace
Ace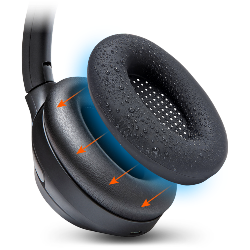 WH1000XM3
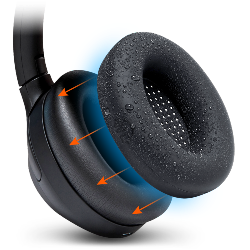 WH1000XM4
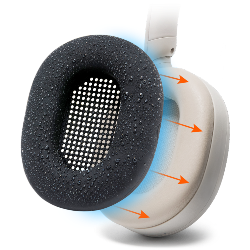 WH1000XM5
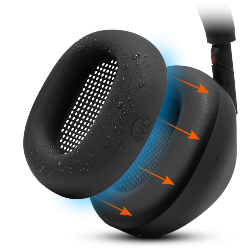 WH1000XM6
 Airpods Max
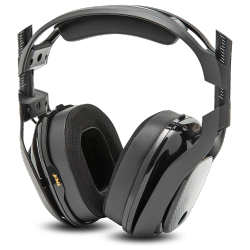 A40
A40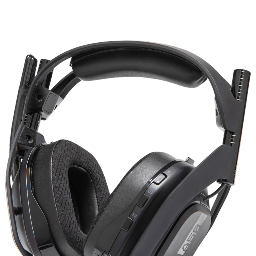 A50
A50 Maxwell
 ATH M Series
 Beats Studio
 Beats Solo
 Quietcomfort
 Corsair Virtuoso RGB Wireless
 HyperX Cloud
 WH1000XM3
 Arctis Nova Models
 Arctis Nova Models
 Airpods 1, 2, 3, & Pro 1 & 2
 AirPods Pro 3
 Airpods 4
 Airpods Pro & Pro 2
 Powerbeats Pro 2
 Galaxy Buds 3 & 4 Pro
 Airpods Max
 WH1000XM5
 WH1000XM6
 MousepadZ

August 06, 2019 • Or Amz
How To Replace And Upgrade SteelSeries Arctis Pro Ear Cups
Are your Arctis Pro Ear Pads Dying?
If you continue using damaged or old pads, your ears may soon touch the inside of the cup and the side of the cushion. They can literally become a pain and distraction while in the midst of a good game.
Don’t let your ears hurt. Replace your worn out ear cushions now!
Wicked Cushions provides a wide array of ear pads for headphones. Check them out so your badly-torn pads won’t interrupt your games from eating hours and days of your life.
Here’s a link where you can purchase it - [Buy Arctis Pro ear cups]
You may notice that our ear pads are much bigger than the originals.
With an increased inner opening and thickness you can play for longer hours without feeling any pain or discomfort with your Arctis headphones.
Now that you have bought our new Arctis pro ear cushions, here’s a step-by-step guide to help you properly install the SteelSeries Arctis 7 Ear Cushions to your headphones.

Step 1: Remove The Old Ear Pads
First, detach the old ear pads from your headphones.
If you’re using an old pair of Arctis ear pads, understand that they were attached by inserting the backside lip of the ear pad into a socket located on the headphone cup.
This should guide you on how to properly remove the cups without damaging the device.
Hold the ear pads with two fingers from within, then slowly pull it out of its socket.
Step 2: Insert Backside Lip In Top Slot
Now, grab your replacement earpads and let’s install them.
There is no left and right for these earpads. However, you can identify the top and the bottom part by looking for the seam at the bottom of the ear pad itself.
Hold the replacement cushion with your index finger inside of the ear pad so you can easily direct it.
Start from the top by inserting the backside lip of the ear pad into the slot.
Step 3: Stretch The Backside Lip Around The Headphone Cup
Once you covered the top part, hold the pad in place with your other finger.
Stretch out the rest of the backside lip into the rest of the socket.
Step 4: Twist The Ear Pad To Secure the Lip
After you have installed the earpad, simply twist it left and right in small motions for the lip to fully insert itself all the way into the slot.
Step 5: Follow The Same Process On The Other Side
Take a second look and make sure that the lip Repeat steps one to five for the other earpad.
After installing the earpad, wear your headphones to test your ears rest against the cushions. We bet they feel good!
Full Video: How to Replace Your Sony MDR 7506 and V6 Ear Pads
If the steps above are unclear without seeing a full demonstration, you're in luck!
Check out the video we made for detailed step by step instructions.