July 17, 2019 • Or Amzaleg
How To Change Ear Cups On HyperX Cloud 2
The HyperX Cloud 2 are arguably the most successful HyperX headphones out there.
Their affordable price combined with the unbelievable quality of the headset rightfully places it as one of the top gaming headphones across the entire board.
However, we found 1 repeated complaint about this model ( which is pretty much true for every model below 100$ ).
The problem? The Ear Pad.
While the HyperX Cloud 2 Ear Pads are extremely comfortable at first, within several weeks you will begin noticing that it becomes increasingly difficult to wear this headset for more than an hour.
This is where we come in.
At Wicked Cushions, Earpads is our thing.
For me personally, whenever I see a new headphone on the market, the first thing I look at is the ear pad.
Through the time I became particularly good at guessing which headphones are going to be declared as long term comfortable and which one's are not ( Just a heads up, Bose 700 noise canceling is the new king of comfort ).
So whether you decide to replace your Ear Pads with Wicked Cushions or you simply want to use the spare one's that hyperX include in the box , we are going to show you how!


Step 2 - Notice the gap
The way that the HyperX Cloud 2 Ear Pads are installed is by inserting a "lip", which is located at the backside of the ear pad into a gap that is located around your HyperX Headphones.
Now that you know how they stay in place, it is easier to move on and install the new pad.
Step 3 - Inserting the top of the backside lip into the gap
Before you do this, you want to get a good comfortable grip on the ear pad, since this is probably the hardest part of the entire process.
The key is to insert a small part of the backside lip into the top part of the gap, and then hold that part with your other fingers in place and move on to the next step where you stretch the rest of the ear pad lip to fit into place.
The trick: When part of the lip is already inserted in the gap, when you stretch out the pad around, the rest of the lip will basically follow into place.
Step 4 - Stretch the rest of the lip into the gap
Be patient, this might be a little annoying as the ear pad will probably slip out of its place several times until you are able to get comfortable with this.
You will need to stretch out the ear pad around until all of its backside lip goes inside the gap.
Don't be afraid to stretch out the pad, as it was meant to withstand this process.
TIP: Holding the ear pad with 2 fingers inside of it will allow you to have the proper grip to stretch it out.
Step 5 : Make Sure The Ear Pad Is Secured. Step 5 : Make Sure The Ear Pad Is Secured.
After you are done replacing both of the ear pads, you want to play with it around a little and make sure that it is secured in place.
If needed, you can also adjust its positioning a little and tuck in the lip in places where you can still insert more of it to the gap, which will provide for a better fitting.
Full Video: How to Replace Your HyperX Cloud 2 Ear Pads
If the steps above are unclear without seeing a full demonstration, you're in luck!
Check out the video we made for detailed step by step instructions.
 A30
A30 A40 TR
 A50 Gen 4, 5, A50X
 Maxwell
 Penrose & Mobius
 M Series
 Beats Studio
 Beats Studio Pro
 Beats Solo 2 & 3
 Beats Solo 4
 DT Series
 B450
B450 Bose QC 35, 35ii, 25, 15, & More
 Bose 700
 Bose QC 45 & QC 2023
 Bose QC Ultra Gen 1 & Gen 2
 Void Pro
 HS 50, 60, and 70
 HS 80
HS 80 Virtuoso RGB Wireless
 Virtuoso Pro
 Virtuoso Max
 H6 Pro
 Cloud Models
 Evolve2 65
 G Pro X Series
 G933, 935, & More
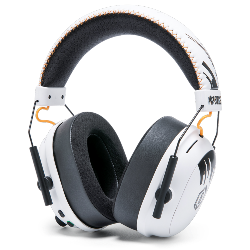 Blackshark V2 Pro (Pre 2023)
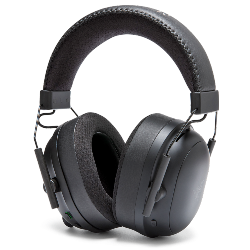 Blackshark V2 Pro 2023
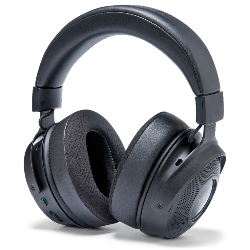 Kraken V3 Pro
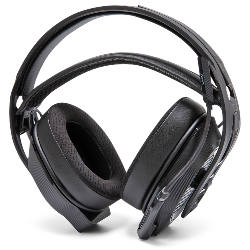 600, 800, & 900 Series
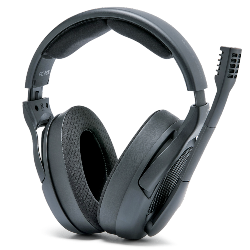 PC38X & More
 HD Series
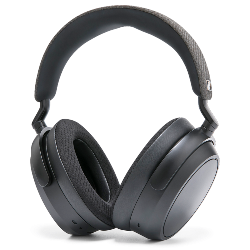 Momentum 4 & HDB 630
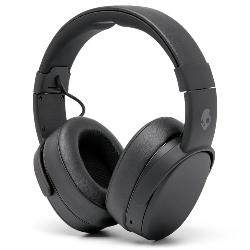 Crusher
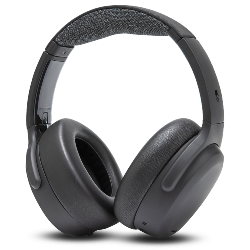 Crusher ANC2
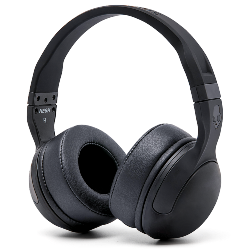 Hesh 2
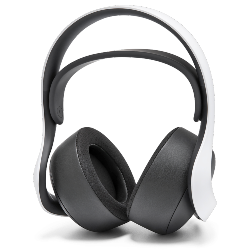 PS5 Pulse Elite
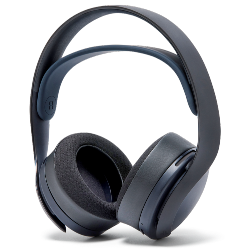 PS5 Pulse 3D
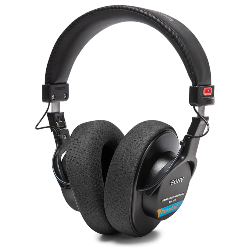 MDR 7506, CD900ST, & V6
 MDR-RF Models
 WH1000XM3
 WH1000XM4
 WH1000XM5
 WH1000XM6
 WH900N
 Inzone H9
 Old Arctis
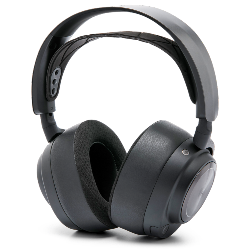 Arctis Nova Pro Wireless & Nova Elite
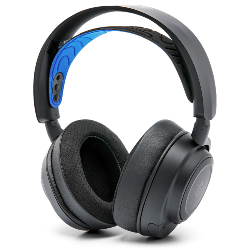 Arctis Nova Line (PRO Wired, 1, 3, 7 & More)
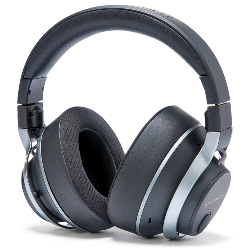 Stealth Pro
 Stealth 700 Gen 2
 Stealth 700 Gen 3
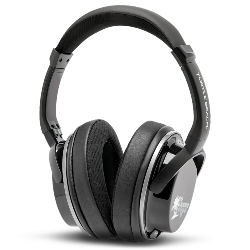 Old Stealth Models
 Crossfade Series
 XBOX Wireless
 Airpods Max
 Beats Studio Pro
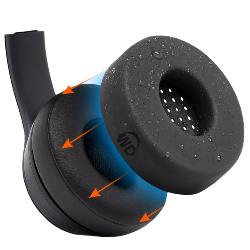 Beats Solo
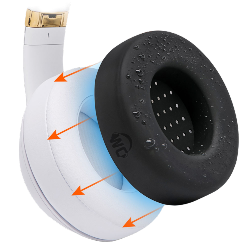 Beats Studio
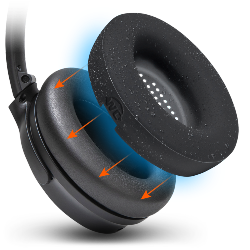 Bose QC25
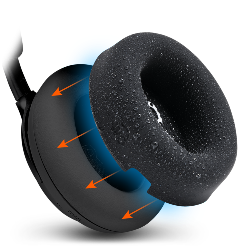 Bose QC Ultra Gen 1 & Gen 2
 Momentum 4
 Ace
Ace WH1000XM3
 WH1000XM4
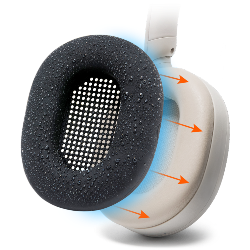 WH1000XM5
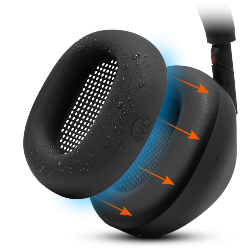 WH1000XM6
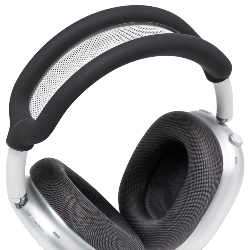 Airpods Max
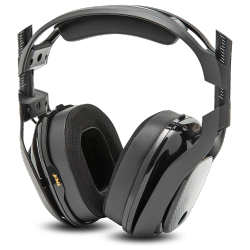 A40
A40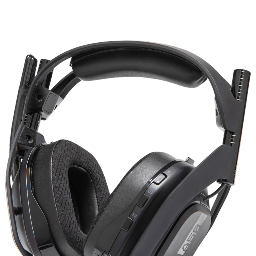 A50
A50 Maxwell
 ATH M Series
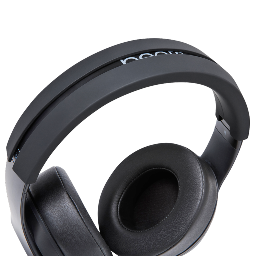 Beats Studio
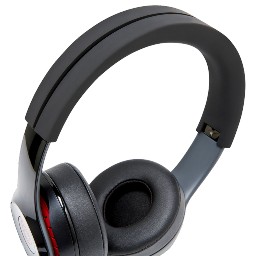 Beats Solo
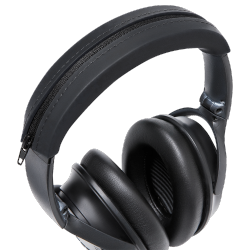 Quietcomfort
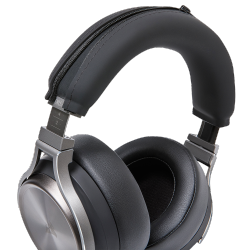 Corsair Virtuoso RGB Wireless
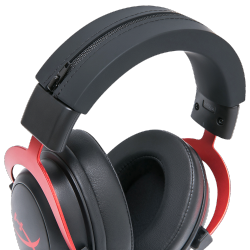 HyperX Cloud
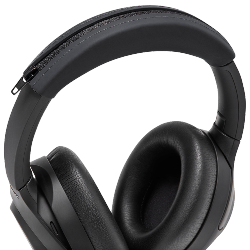 WH1000XM3
 Arctis Nova Models
 Arctis Nova Models
 AirPods Pro 1, 2 & 3
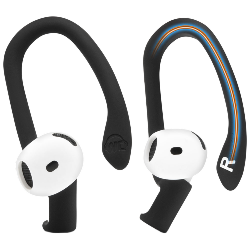 Airpods 4
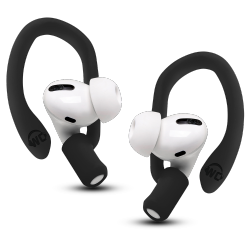 Airpods 1, 2, 3, & Pro 1 & 2
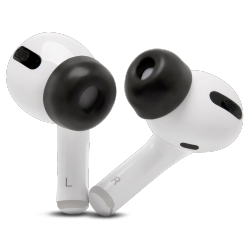 Airpods Pro & Pro 2
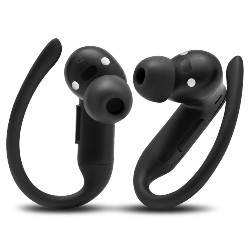 Powerbeats Pro 2
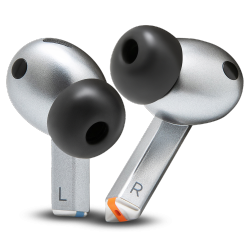 Galaxy Buds 3 Pro
 Airpods Max
 WH1000XM5
 MousepadZ


