Headphone Improvements 101: How to Put Headphone Cushions On
Headphone cushions help give our headphones a solid grip and make them more comfortable to wear. But no matter how high quality the headphone cushions are when you first get them, they will wear down eventually. Luckily, when this happens, you don’t have to just kiss your headphones goodbye and shell out cash for brand new ones! Instead, you can simply (and affordably!) so they feel brand new all over again! In this article, we’ll take a look at how to put headphone cushions on as well as talk about the importance of making sure you do so on a regular basis.The Importance of Replacing Your Headphone Cushions
There are many important reasons for replacing your headphone cushions. And there also a few fun ones! Let’s take a quick look at some of the benefits of replacing headphone cushions:
The importance of replacing your headphone cushions
There are many important reasons for replacing your headphone cushions. and there also a few fun ones! let’s take a quick look at some of the benefits of replacing headphone cushions: <img src=;" alt="">- Maintain comfort – As headphone cushions get old, the foam flattens, the leather peels and cracks, the cushion starts to get a weird smell. So if you want to enjoy maximum comfort throughout the life of your headphones, you need to replace the headphones cushions when they start to wear out.
- Better sound – Worn out cushions do not isolate noise as well and they don’t help accentuate the bass as much. You need high quality headphone cushions in good condition if you want to get the best sound.
- Save money – A pair of great new, high end headphone cushions cost well under 50 bucks. You simply cannot find a pair of top of the line headphones for that little money. So, buying a great pair of headphones and replacing the cushions regularly is a way better use of your money than just replacing your headphones entirely every time the cushions wear out.
- Customizable – You can get cool cushions with patterns. You can get velour cushions (which some prefer because they are more comfortable although they do decrease noise isolation a bit).
 In addition to all these benefits, it is super, super easy to replace them. Read on to learn just how easy!
The Key Signs it’s Time For Replacement Headphone Cushions
You will probably read and hear different recommendations about how often you should be replacing your headphone cushions but the truth is there is no magical time frame. It really depends on how often you use them, how well you take care of them, and how you are storing them when not in use.
With that in mind, instead of looking for a certain time frame, just be on the lookout for key signs of wear and tear. The more serious the signs, the better off you are replacing your headphone cushions. Here are some key signs:
- Flat cushions – When the foam is put under repeated pressure, the structure will start to breakdown, meaning the whole cushion will start to go flat. This is less comfortable and decreases sound quality.
- Peeling or cracking leather – If your cushions have a leather coating, it will eventually start to peel and crack. This doesn’t look very nice and it is a sign that your headphone cushions have seen better days.
- Bad smell – Headphones are exposed to and absorb a lot of sweat and dirt throughout their lifetime. Even with proper cleaning, it will eventually build up to a point that the collective bacterial and damp foam will give off a moldy or stinky smell—not what you want pressed up against your ears!
How to Replace Headphone Cushions
Replacing headphone cushions is great for your headphones, great for your ears, and easy to do! While each brand is unique, the general steps you’ll probably need to follow include:
Get your replacement headphone cushions. You can buy them easily online. Just make sure they are compatible with the model of headphones you have. You can find a great selection of replacement headphone cushions for top of the line brands like Bose and Beats.
Remove old cushions. In most cases, removing the old cushions is a simple matter of tugging gently at them until they come off. If they don’t pull away on their own with gentle tugging, check the back for screws that may be holding them in place. In this case, use a knife or small screwdriver to unscrew them. Then remove the cushion.
Place the new cushion on. Stretch the flap on the back of the cushion over the bare headphone until it is securely and firmly in place. If it is able to stay in place on its own, you may not need to replace the screws if there were screws. However, we recommend them storing them in a safe place in case you decide you want to use them later.
That’s it! It really is that easy! The whole process will take about 5 minutes in total. So considering how easy it is and how affordable replacement cushions are, there is literally no reason not to replace your worn out cushions with fresh new ones!Final Word
Replacing your headphone cushions once they start to wear down is super easy to do and the benefits are well worth it! Replacement headphone cushions are super affordable, especially when you compare them to the cost of buying a whole new set of headphones!

Back to Blog
 A30
A30 A40 TR
 A50 Gen 4, 5, A50X
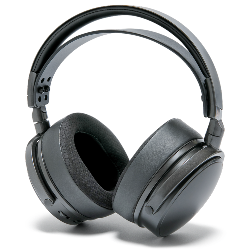 Maxwell
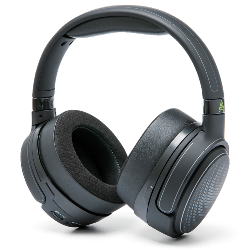 Penrose & Mobius
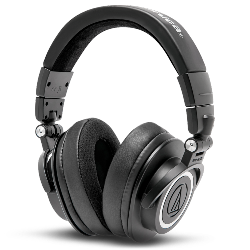 M Series
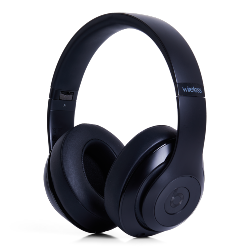 Beats Studio
 Beats Studio Pro
 Beats Solo 2 & 3
 Beats Solo 4
 DT Series
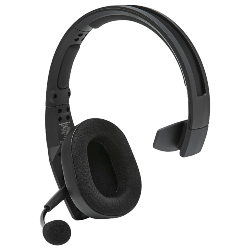 B450
B450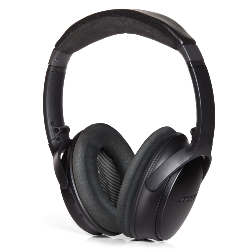 Bose QC 35, 35ii, 25, 15, & More
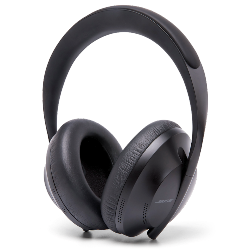 Bose 700
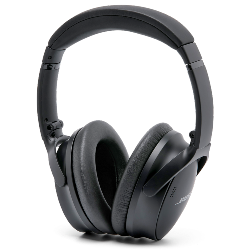 Bose QC 45 & QC 2023
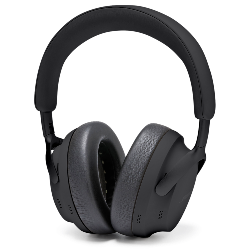 Bose QC Ultra Gen 1 & Gen 2
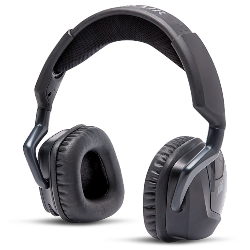 Void Pro
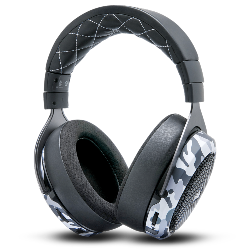 HS 50, 60, and 70
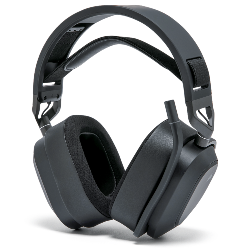 HS 80
HS 80 Virtuoso RGB Wireless
 Virtuoso Pro
 Virtuoso Max
 H6 Pro
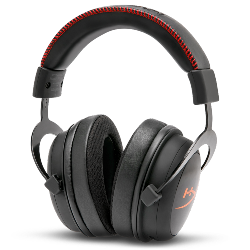 Cloud Models
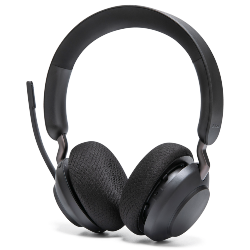 Evolve2 65
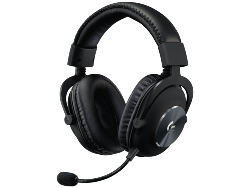 G Pro X Series
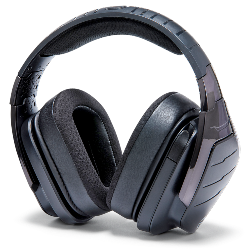 G933, 935, & More
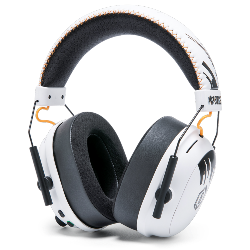 Blackshark V2 Pro (Pre 2023)
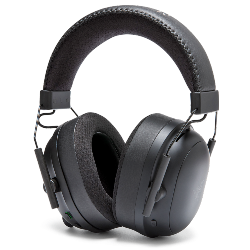 Blackshark V2 Pro 2023
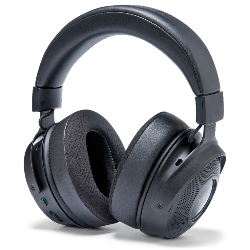 Kraken V3 Pro
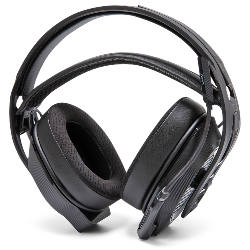 600, 800, & 900 Series
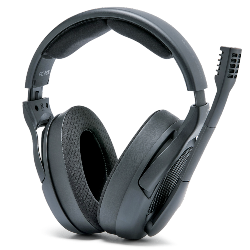 PC38X & More
 HD Series
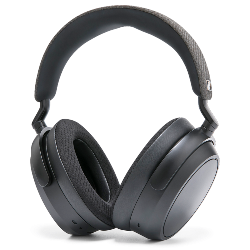 Momentum 4 & HDB 630
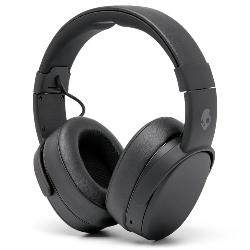 Crusher
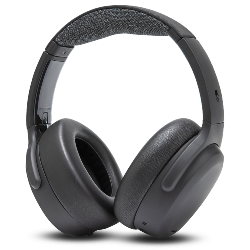 Crusher ANC2
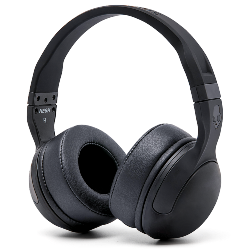 Hesh 2
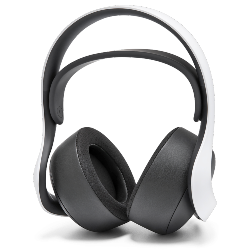 PS5 Pulse Elite
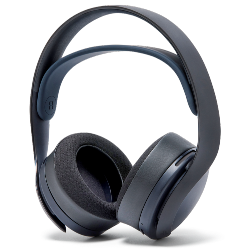 PS5 Pulse 3D
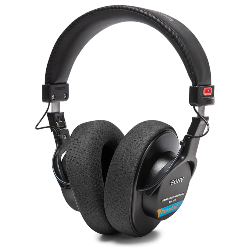 MDR 7506, CD900ST, & V6
 MDR-RF Models
 WH1000XM3
 WH1000XM4
 WH1000XM5
 WH1000XM6
 WH900N
 Inzone H9
 Old Arctis
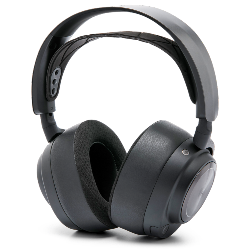 Arctis Nova Pro Wireless & Nova Elite
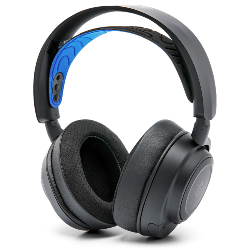 Arctis Nova Line (PRO Wired, 1, 3, 7 & More)
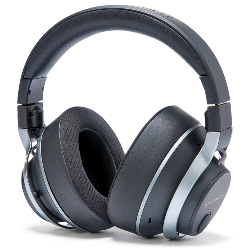 Stealth Pro
 Stealth 700 Gen 2
 Stealth 700 Gen 3
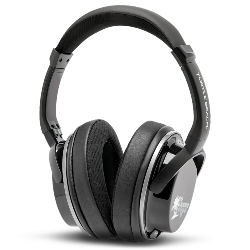 Old Stealth Models
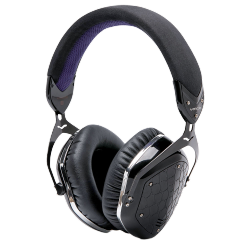 Crossfade Series
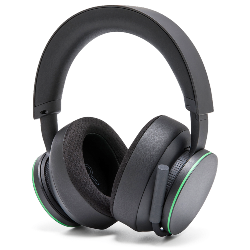 XBOX Wireless
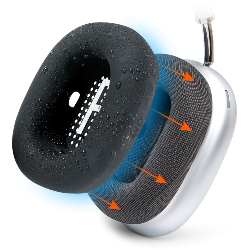 Airpods Max
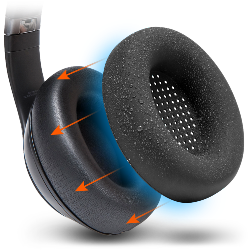 Beats Studio Pro
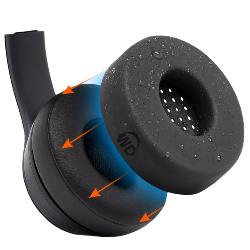 Beats Solo
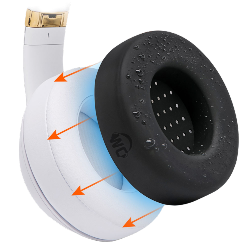 Beats Studio
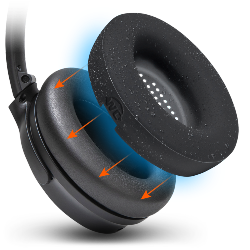 Bose QC25
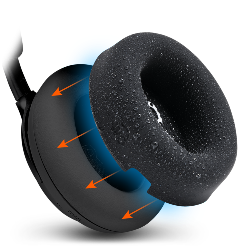 Bose QC Ultra Gen 1 & Gen 2
 Momentum 4
 Ace
Ace WH1000XM3
 WH1000XM4
 WH1000XM5
 WH1000XM6
 Airpods Max
 A40
A40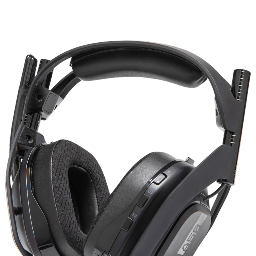 A50
A50 Maxwell
 ATH M Series
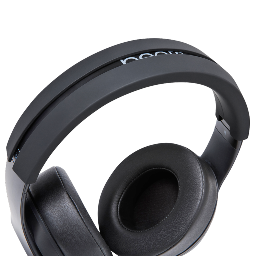 Beats Studio
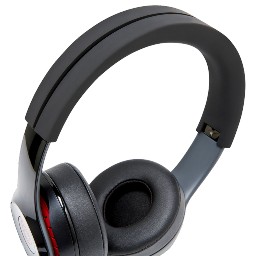 Beats Solo
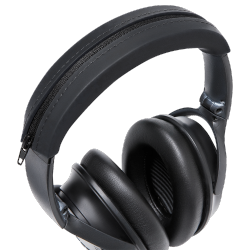 Quietcomfort
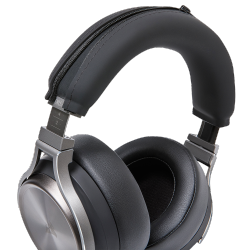 Corsair Virtuoso RGB Wireless
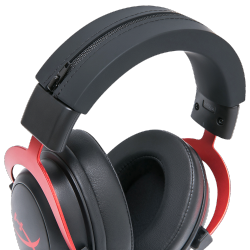 HyperX Cloud
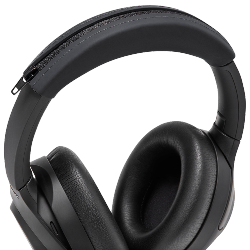 WH1000XM3
 Arctis Nova Models
 Arctis Nova Models
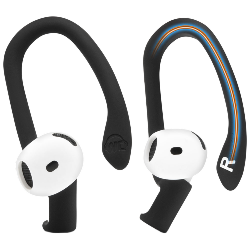 Airpods 4
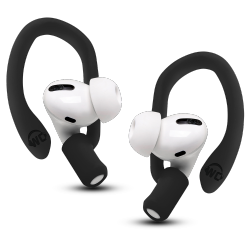 Airpods 1, 2, 3, & Pro 1 & 2
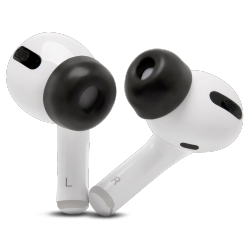 Airpods Pro & Pro 2
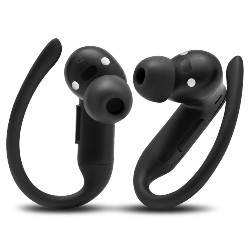 Powerbeats Pro 2
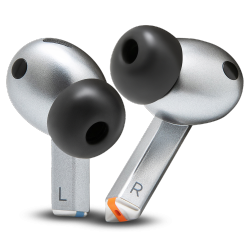 Galaxy Buds 3 Pro
 Airpods Max
 WH1000XM5
 MousepadZ
