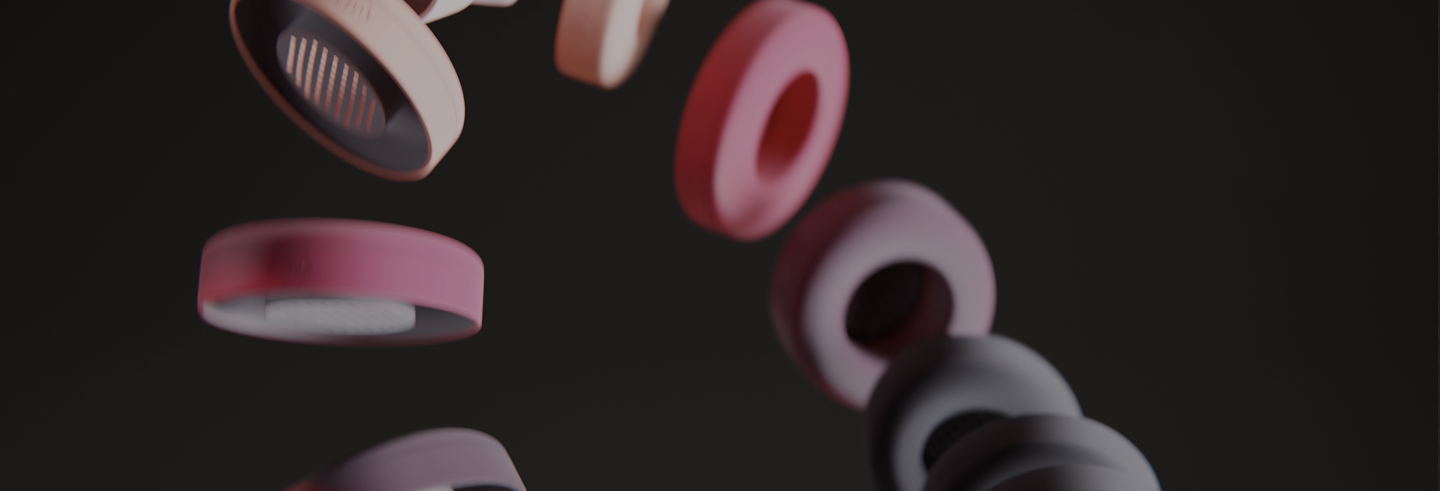
A Brief Guide to The Essentials of Headphone Cushion Replacement
Surprisingly few people know that headphone cushion replacement is possible. They assume that once a part starts to go bad on their headphones, it’s time to toss them and buy a whole new set!
But doing that is like literally throwing money away! Instead, you can simply identify the part that has started to go bad and replace it to once again restore your headphones to optimal quality. And headphone cushion replacement is possible. They assume that once a part starts to go bad replacing headphone cushions is one of the easiest parts you can replace! So in this article we’ll show you how to replace headphone cushions and you’ll see just how easy it is!
Know When It Is Time to Replace Headphone Cushions
As with many things in life, the first step is to headphone cushion replacement is possible. They assume that once a part starts to go bad o>recognize the problem. Sometimes, the wear happens so gradually that we don’t even really pay attention. We just kind of adapt to it and accept it. But you can keep your headphones looking and feeling brand new by simply replacing them once you start noticing these signs of wear on your cushions:

- Peeling or tearing - If your cushions have a protein leather coating, this will eventually start to peel or tear from exposure to changing weather conditions, the absorption of sweat, and other factors that weaken the coating. Conditioning with a special leather conditioner once or twice per year can help delay this process but it will happen eventually.
- Flattened cushions - Even with the best headphone cushion replacement is possible. They assume that once a part starts to go bad o>memory foam filling, all filler will eventually lose its springiness after a time. The combination of the pressure from being pressed against your ears and the exposure to the weather will weaken the structure of the foam. The protein leather coating helps to protect the foam from that exposure and headphone cushion replacement is possible. They assume that once a part starts to go bad o>proper storage can also help protect it but it will eventually start to go flat, making it less comfortable and less effecting at isolating sound.
- Odor - Headphone cushions are regularly exposed to dirt, bacteria and sweat from your skin. This absorbs through the protein leather coating and into the foam. You can slow this down by practicing headphone cushion replacement is possible. They assume that once a part starts to go bad o>proper cleaning procedure like wiping them off after usage and headphone cushion replacement is possible. They assume that once a part starts to go bad o>cleaning weekly. But eventually, the buildup of dirt, sweat and bacteria will start to give off an unpleasant odor and the foam may even start to get moldy. You don’t want to put that on your ears!

These are the 3 key signs of wear that tell you it is time to replace your cushions. Less frequently, you may notice the seams starting to come apart or the cushions no longer staying in place very well but this is usually a sign of poor quality as well as wear.
Buy Replacement Headphone Cushions
Buying replacement headphone cushions can be as simple as ordering them online. However, you do want to make sure that they are compatible with your headphones. For the most part, replacement headphone cushions can fit a wide variety of models but they are not totally universal.

And not all replacement headphone cushions are created equal. You don’t want to just buy the cheapest ones you can find. These are a waste of money and they won’t be nearly as comfortable and effective as your original cushions. Even high end replacement headphone cushions for quality brands like Beats and Bose are still very affordable so there’s no need to scrimp on this.
Remove Old Headphone Cushions
Once you’ve got your brand new replacement headphone cushions, it’s time to start using them! All you need to do now is take off the old ones and put on the new ones.

To remove the old headphone cushions, all you will have to do is gently tug on them until they pull away from the headphones. This is true in the majority of cases. However, sometimes the cushions are held on with screws.
If you notice screws holding your cushions on, you will need to use a knife or a small screwdriver to remove the screws before pulling off the cushion. Keep the screws in a safe place so you don’t lose them. You may not need to use them to hold the new cushion in place if it will stay on its own but it is a good idea to hang on to them.
Install New Replacement Headphone Cushions
Once the old cushions are off, toss them in the trash or give them to your puppy to use as a chew toy! Take out your fresh new replacement headphone cushions. All you have to do now is simply stretch the black flap of the cushion over and around the headphones.

Make sure the entire flap is securely wrapped over the headphone and the cushion is sitting firmly in place. Once you’ve got your cushions installed on both sides, it’s time to put your headphones on test out your brand new replacement headphone cushions!
Final Word
With your new cushions in place, you are ready to once again start enjoying the full level of quality that your headphones can provide! The whole process should not take more than 10 minutes and that’s including the possibility that there are screws in the back of your headphones (most often there aren’t).

Considering how affordable it is and how many extra years this simple process can add to your headphones, there is no reason not to replace your worn out headphone cushions!
 A30
A30 A40 TR
 A50 Gen 4, 5, A50X
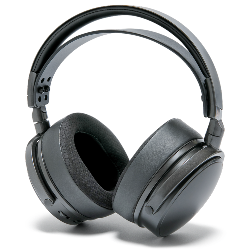 Maxwell
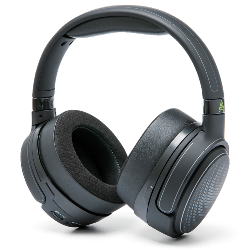 Penrose & Mobius
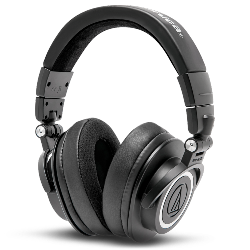 M Series
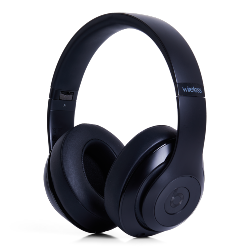 Beats Studio
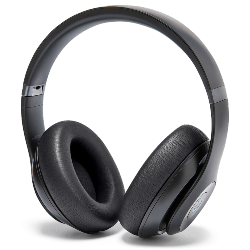 Beats Studio Pro
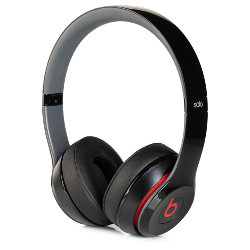 Beats Solo 2 & 3
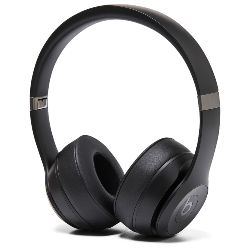 Beats Solo 4
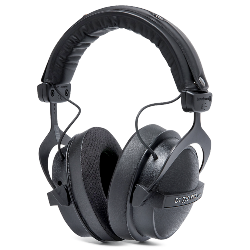 DT Series
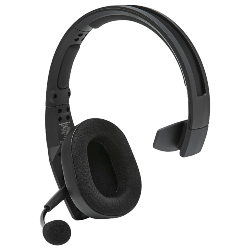 B450
B450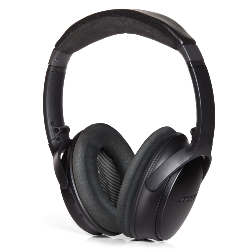 Bose QC 35, 35ii, 25, 15, & More
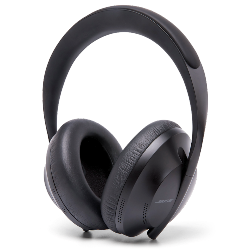 Bose 700
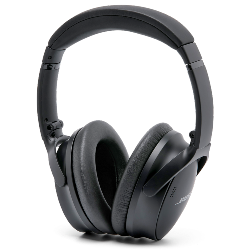 Bose QC 45 & QC 2023
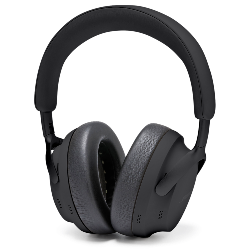 Bose QC Ultra Gen 1 & Gen 2
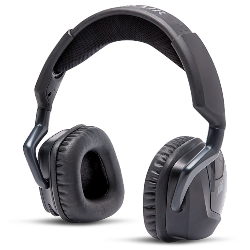 Void Pro
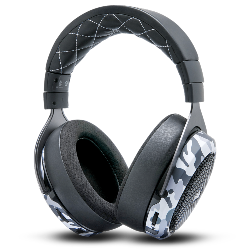 HS 50, 60, and 70
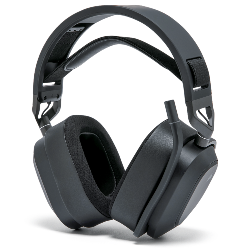 HS 80
HS 80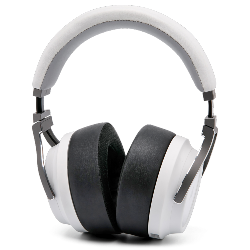 Virtuoso RGB Wireless
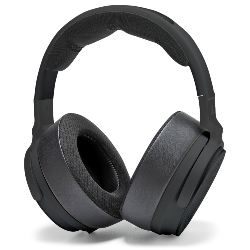 Virtuoso Pro
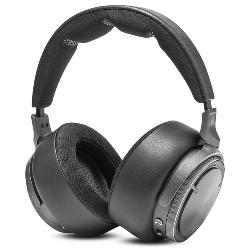 Virtuoso Max
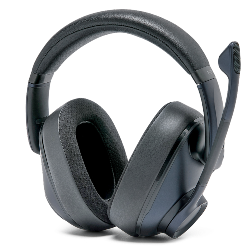 H6 Pro
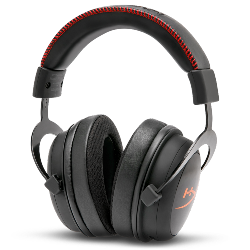 Cloud Models
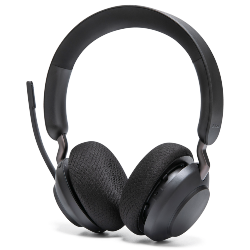 Evolve2 65
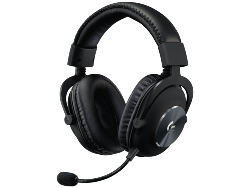 G Pro X Series
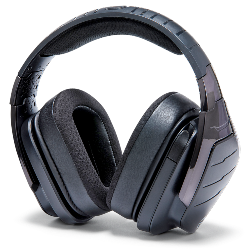 G933, 935, & More
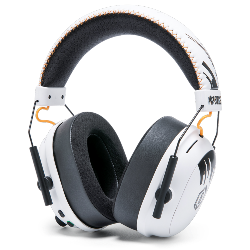 Blackshark V2 Pro (Pre 2023)
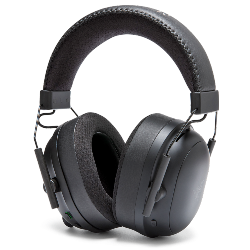 Blackshark V2 Pro 2023
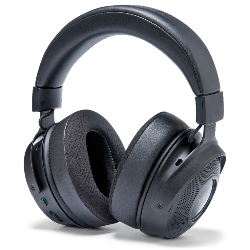 Kraken V3 Pro
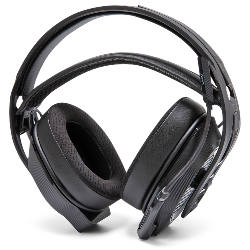 600, 800, & 900 Series
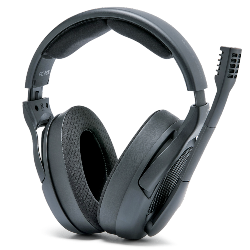 PC38X & More
 HD Series
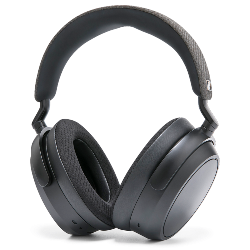 Momentum 4 & HDB 630
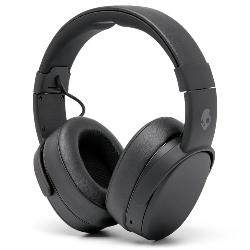 Crusher
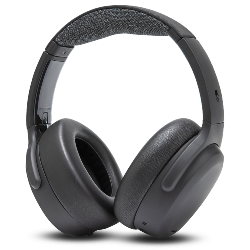 Crusher ANC2
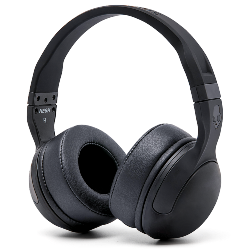 Hesh 2
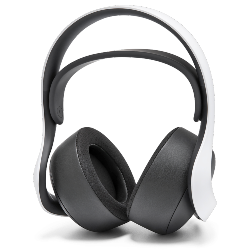 PS5 Pulse Elite
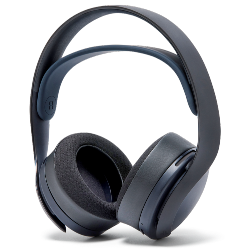 PS5 Pulse 3D
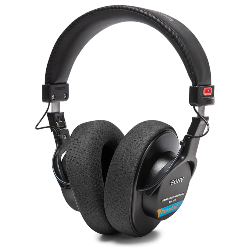 MDR 7506, CD900ST, & V6
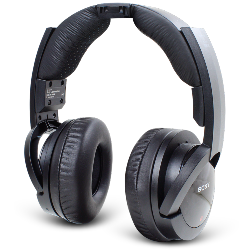 MDR-RF Models
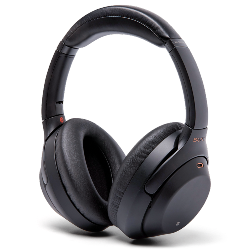 WH1000XM3
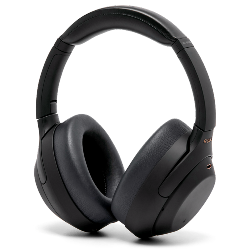 WH1000XM4
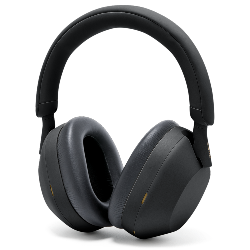 WH1000XM5
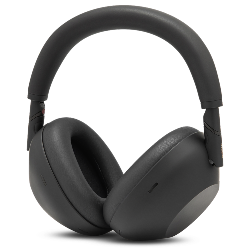 WH1000XM6
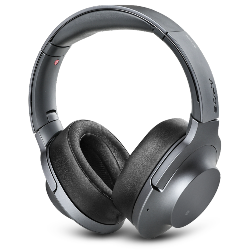 WH900N
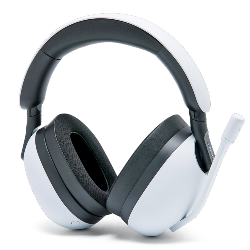 Inzone H9
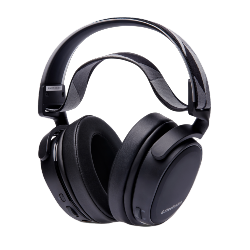 Old Arctis
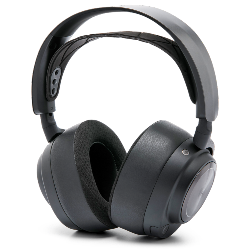 Arctis Nova Pro Wireless & Nova Elite
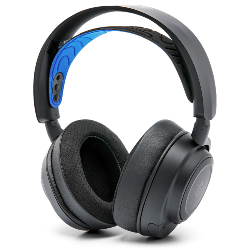 Arctis Nova Line (PRO Wired, 1, 3, 7 & More)
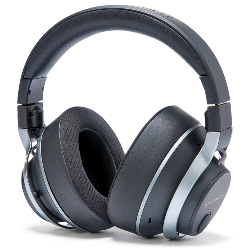 Stealth Pro
 Stealth 700 Gen 2
 Stealth 700 Gen 3
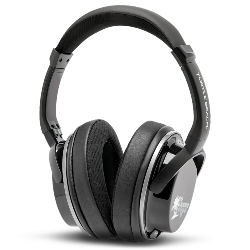 Old Stealth Models
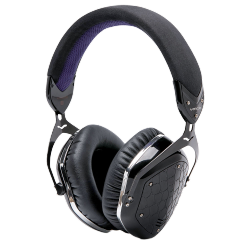 Crossfade Series
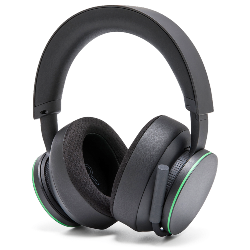 XBOX Wireless
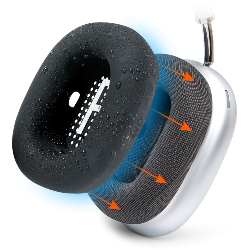 Airpods Max
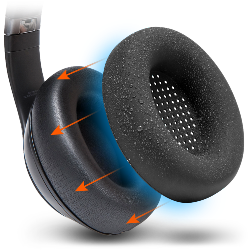 Beats Studio Pro
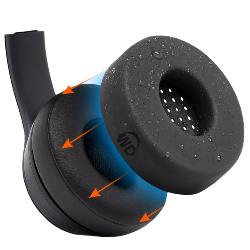 Beats Solo
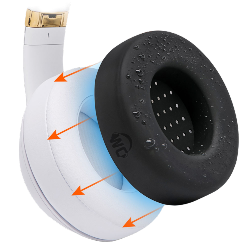 Beats Studio
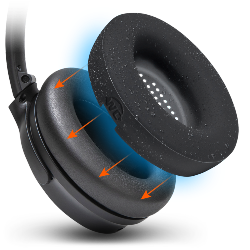 Bose QC25
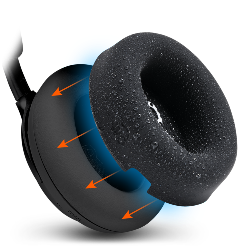 Bose QC Ultra Gen 1 & Gen 2
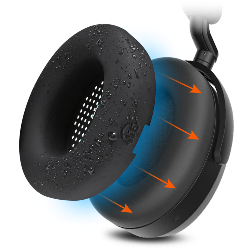 Momentum 4
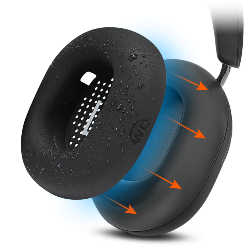 Ace
Ace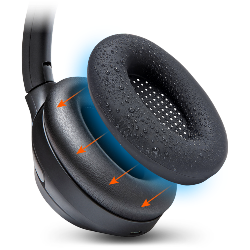 WH1000XM3
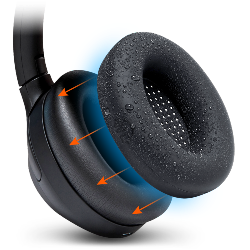 WH1000XM4
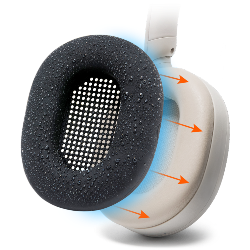 WH1000XM5
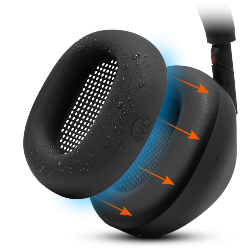 WH1000XM6
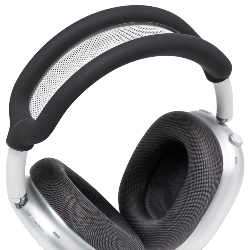 Airpods Max
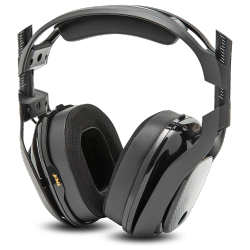 A40
A40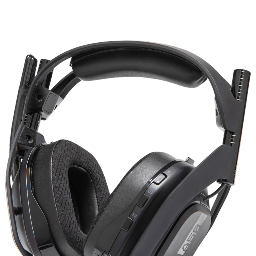 A50
A50 Maxwell
 ATH M Series
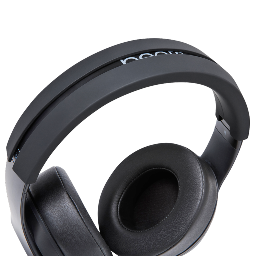 Beats Studio
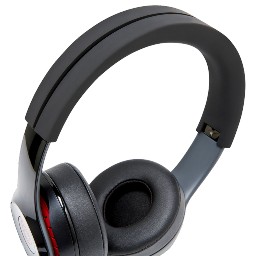 Beats Solo
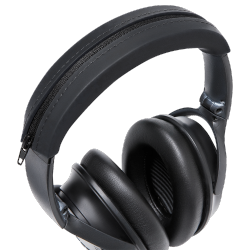 Quietcomfort
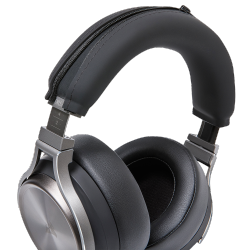 Corsair Virtuoso RGB Wireless
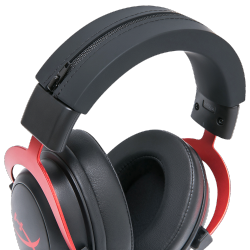 HyperX Cloud
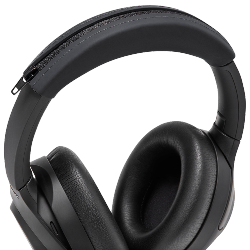 WH1000XM3
 Arctis Nova Models
 Arctis Nova Models
 AirPods Pro 1, 2 & 3
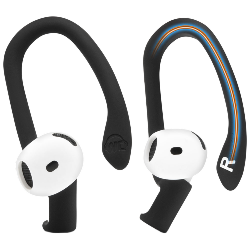 Airpods 4
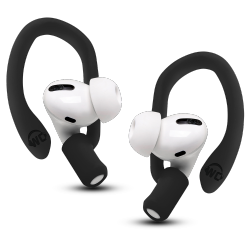 Airpods 1, 2, 3, & Pro 1 & 2
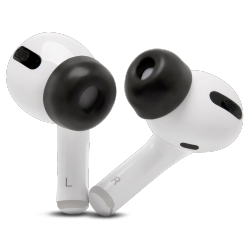 Airpods Pro & Pro 2
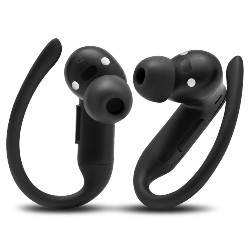 Powerbeats Pro 2
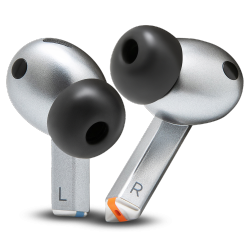 Galaxy Buds 3 Pro
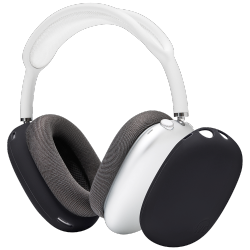 Airpods Max
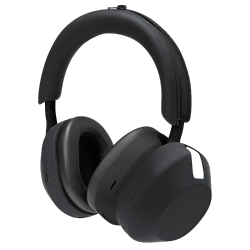 WH1000XM5
 MousepadZ
